To make a piper's plaid you need a length of double width tartan, ie, tartan that has been woven approximately 54" wide (135cm) with a selvedge down both sides. The length needs to be approximately 3.6 metres (4yds). It can be 13oz or 16oz in weight. I personally recommend 13oz. It's lighter, less bulky and much more comfortable to wear.
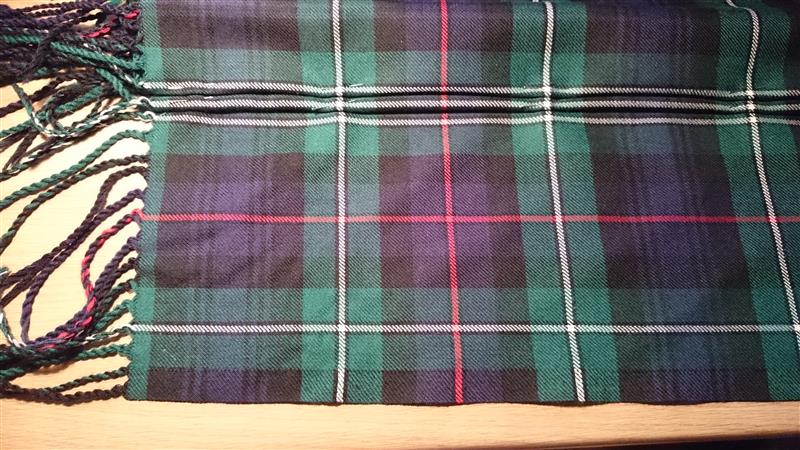
In this example I am working on a MacKenzie tartan. With other tartans some of the measurements will vary according to the size of the sett.
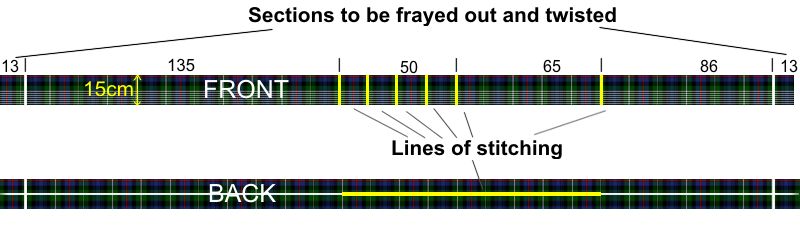
All measurements in these two diagrams above are in centimeters. They are only a guide. They will vary according to the tartan you're working with and the size of the person you are making the plaid for. The top diagram shows the front of the plaid with the pleats pointing downwards. The bottom diagram shows the other side of the plaid where both selvedges overlap to cover all the pleating at the back. The full length of the plaid is pinned down in this pattern and the pleats steam-ironed in.
The yellow lines show the lines of stitching on both sides of the plaid. The lines of stitching on the top side should be just to the side of the light stripes in the tartan.
Making the Fringes
Making the fringes is by far the most time-consuming part of the job. It requires a lot of patience but the end result is well worth the effort.
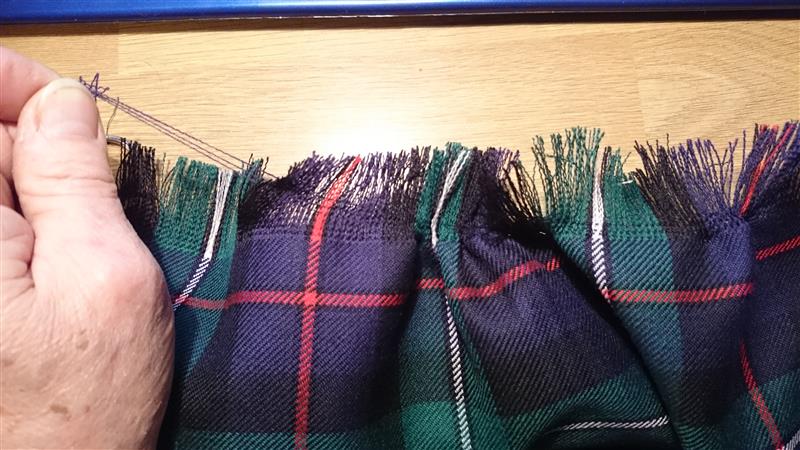
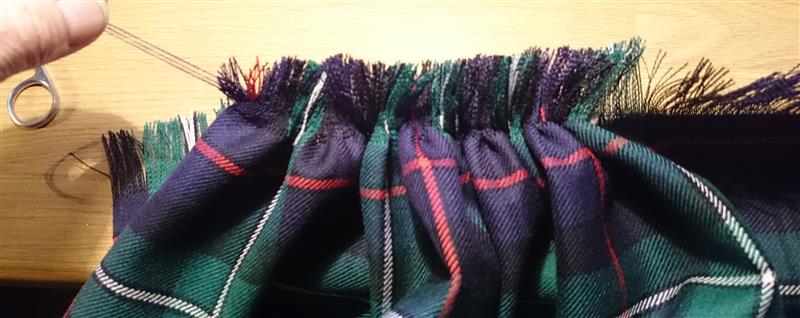
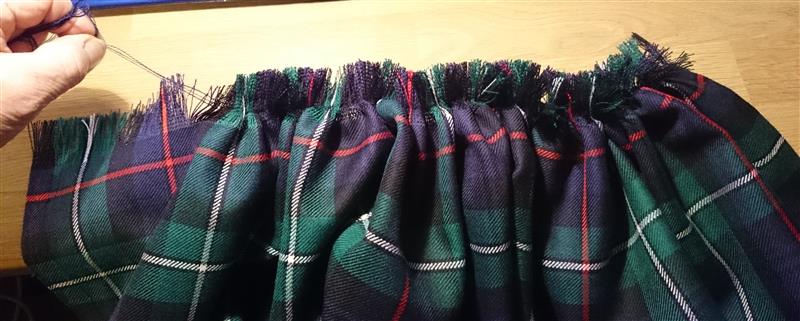
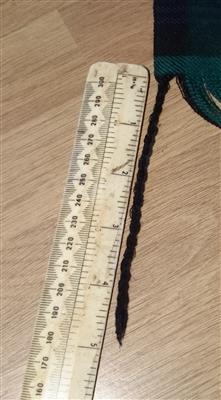
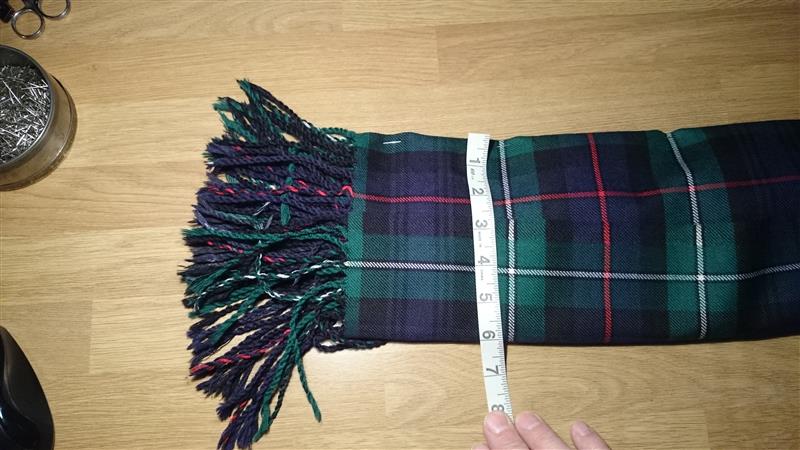
Stage 1: Start by teasing out the horizontal threads. I find that with most materials I can do this with three or four threads at a time. Working a few inches at a time you can eventually work right through the full width of the material, puckering the material up in the same way as you would when attaching rufflette tape to a curtain. This sideways movement releases the threads from the vertical threads and allows you to move onto the next few inches. Eventually you reach the selvedge at the other end and, once the ends of the threads have been released, they will be free throughout the entire width of the material and can be pulled out in one go. Repeat this operation until you have reached a depth of five inches.
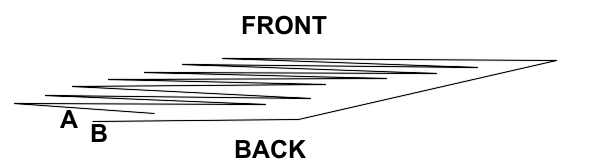
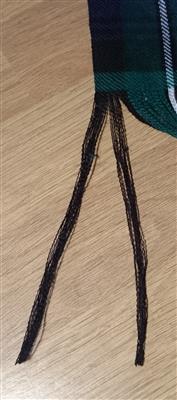
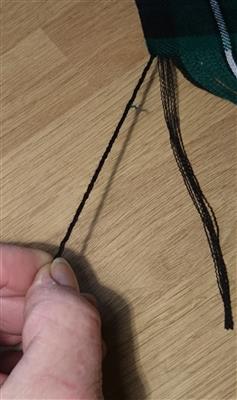
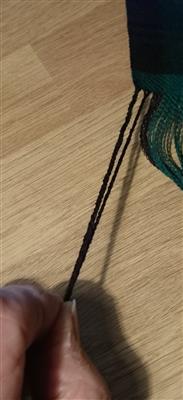
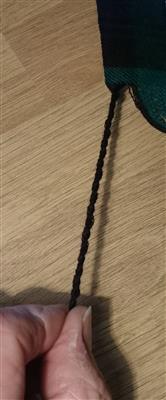
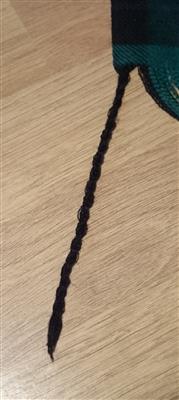
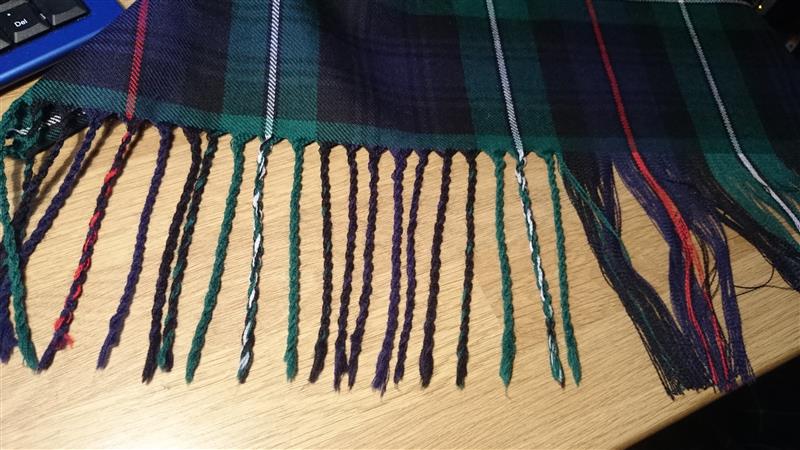
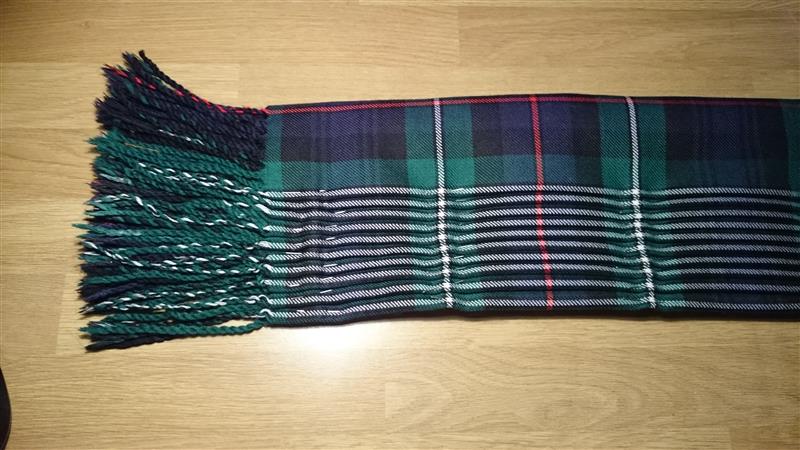
Stage 2: Take two groups of threads to make each tassle. For piper's plaidsI usually use about 6 threads in each group. On lightweight fly plaids where the fringe is only about 7cm deep I use about 4 threads in each group. Twist each group individually in the same direction until they are both tight. Then hold the two groups together and twist them back in the opposite direction.
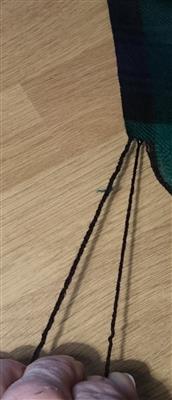
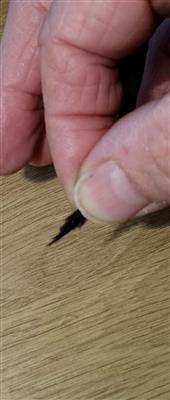
I then wet the end of the tassel and rub it between my fingers to mat the fibres together and prevent the tassel unravelling. Alternatively you can wipe the tips with a tiny smear of Pritt-Stick or some other light glue to hold them together.
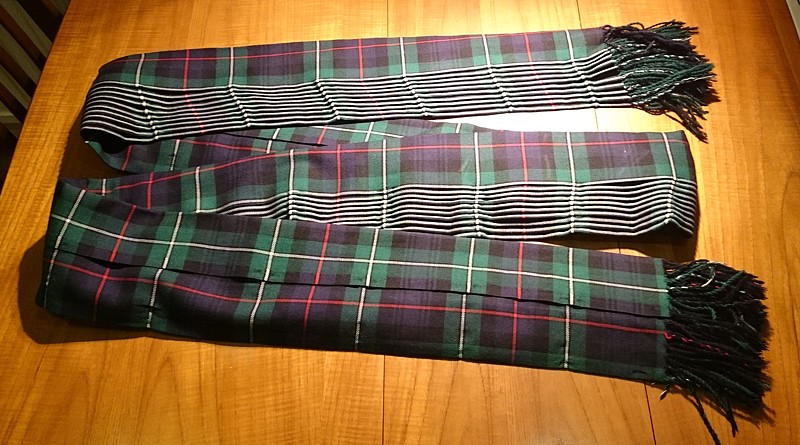
Twisting each fringe.
Pleating
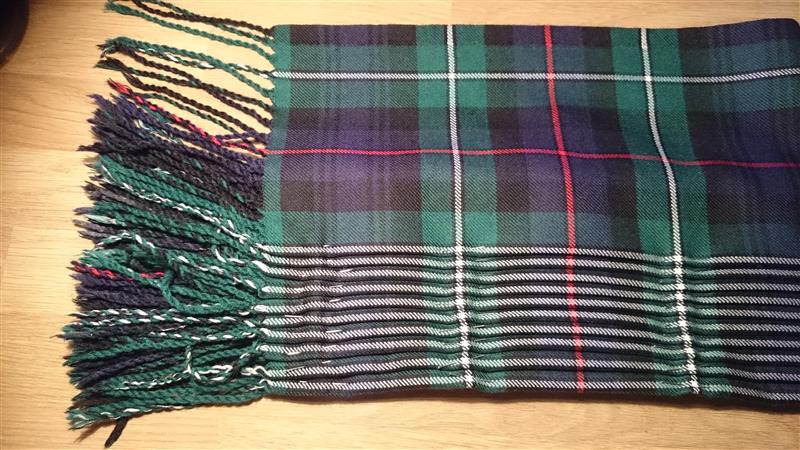
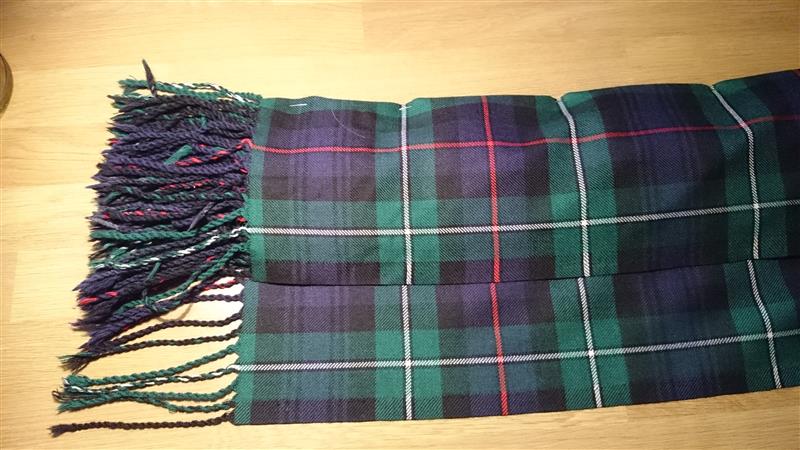
Working across the material from selvedge to selvedge, pleat the material in such a way that each pleat is approximately 1cm apart. Just as with a kilt, you can either follow "sett pleating" where you maintain the pattern of the tartan or follow "military pleating" where you show the same part of the sett in the visible section of each pleat, ideally a light stripe. What you're aiming at is an overall width of about 15cm (6"), ideally with about half of this being pleats. With tartans with large setts the pleated section may only cover about 1/3 of the overall width.
On this MacKenzie plaid, each pleat is going to have a white stripe right on the edge. There are 12 stripes in the width of this tartan so I'm making it with 10 pleats, allowing about 4" on either end to cover the back of the plaid. The pleated section is going to be about 3" (75mm) wide so each pleat needs to be 3/10" 7.5mm) apart.
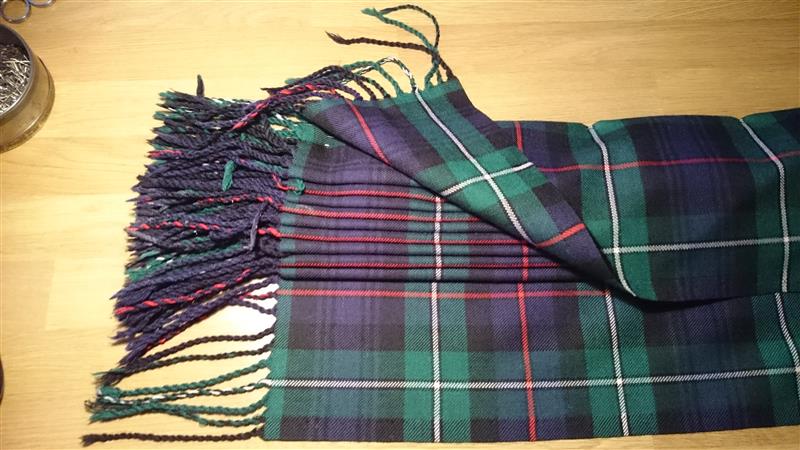
Turn the plaid over and overlap the two selvedges to cover the underside of the pleats. The overall width of the plaid is 6" (150cm).
Looking again at the front of the plaid, the pleated section covers half the width of the plaid.