Making a Kilt
This page is aimed at those who are looking for guidance in how to make a kilt and who are already competent at stitching and handling material. This is not the only way to make a kilt. There are many variations on the techniques and styles involved. This is how I do it.
The first stage is to measure the person for whom the kilt is being made.
The measurements needed are:
1. Height: from the waist to the centre of the knee-cap.
2. Hip: the distance round the body at its widest point.
3. Waist: the distance round the body at the height of the belly button.
4. Stitch length: ie. the distance between the hip and the waist (typically around 8'').
If the waist measurement is the same or more than the hip measurement then some extra measurements are needed. The aim is always to keep the pleated section narrower at the waist than the hip so that it will sit well on the buttocks and not slip off. Measure the distance from an inch in front of the ball of the hip round the buttock to the same point on the other hip. Then measure the rear part of the waist above the same two points. The width of the front apron is determined by the waist measurement. Keep the hip measurement the same or just an inch or two more than the waist and let the apron hang freely.
At the hip aim to make the pleated section about 2" wider than the apron. The measurements I took for the kilt in this demonstration are: waist 36" and hip 44". So I made the pleated section 19" at the waist and 23" at the hip, and the apron 17" at the waist and 21" at the hip.
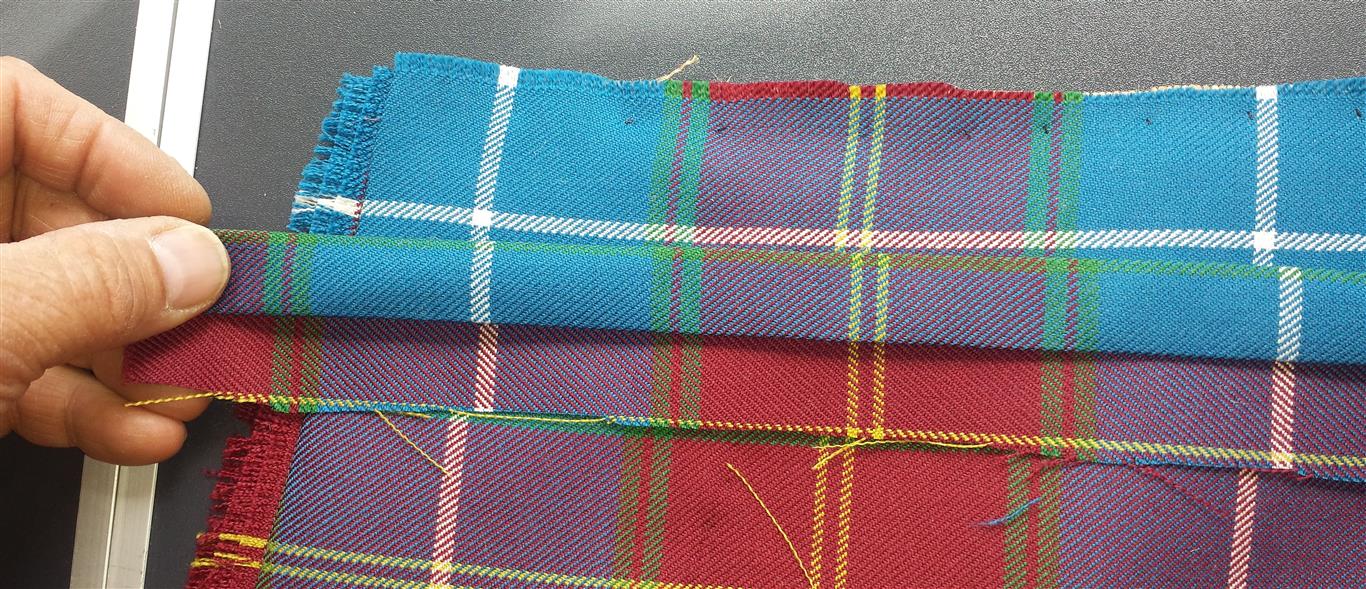
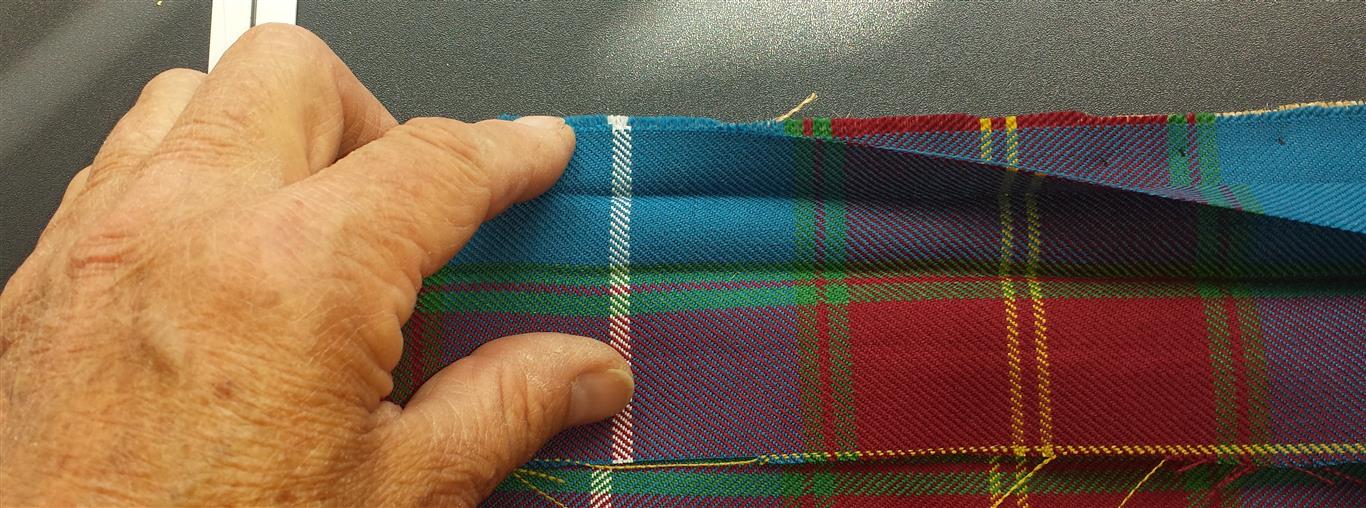
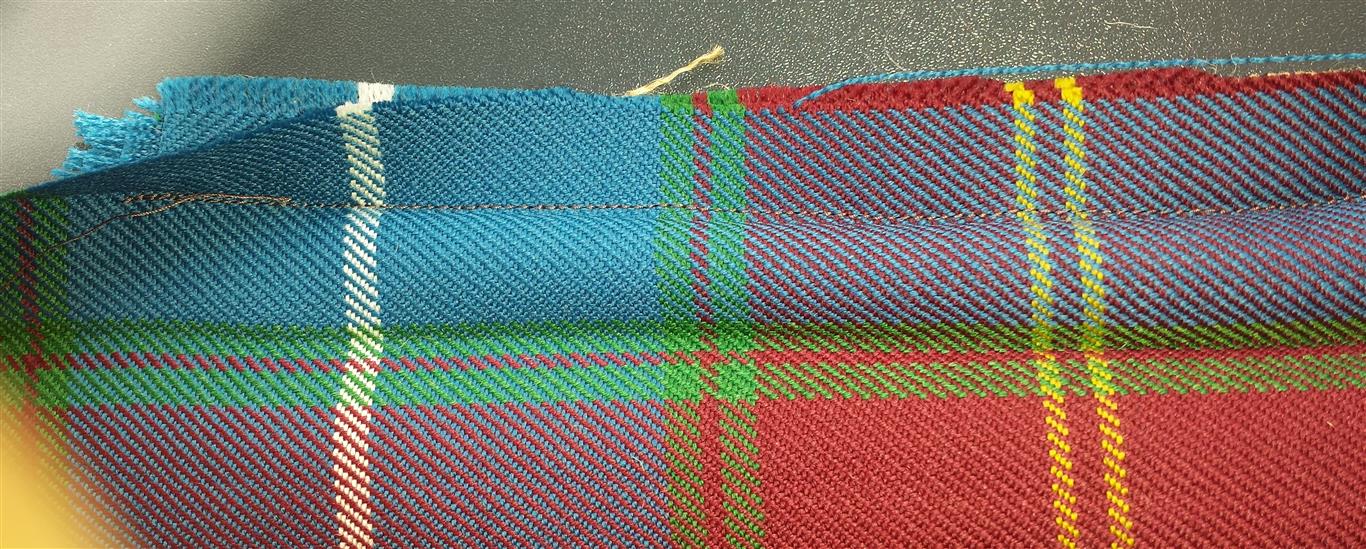
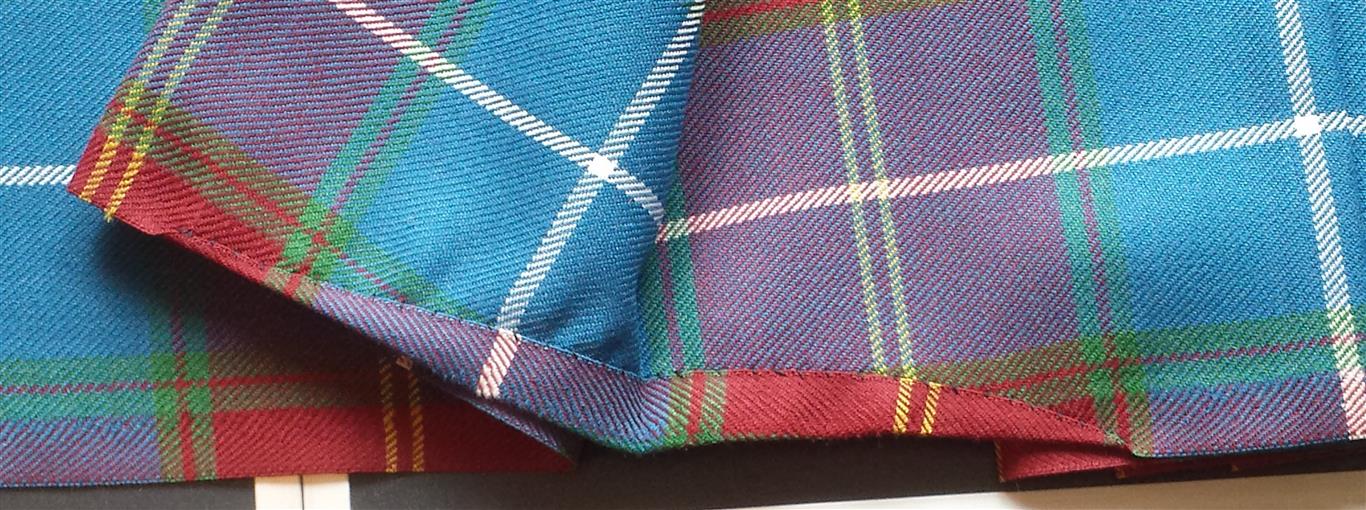
The pattern on the top apron must be symmetrical so this is where to start. First cut the material to the required length. If it came in double width, cut the material right down the middle and join the two pieces together. (I don't usually join them till later on when I'm halfway through the pleating when I can better judge where to make the join, ideally inside a pleat on the reverse side where it will not be seen.) To begin, lay the material out with what is going to be the fringed edge of the top apron nearest to you and the selvedge to the right. Mark out the top apron first, allowing about nine inches on the open end for the turnover and fringe, then pin up the pleated section, and finally mark out the bottom apron, including at the far end another 8 inches or so for the final turnover.

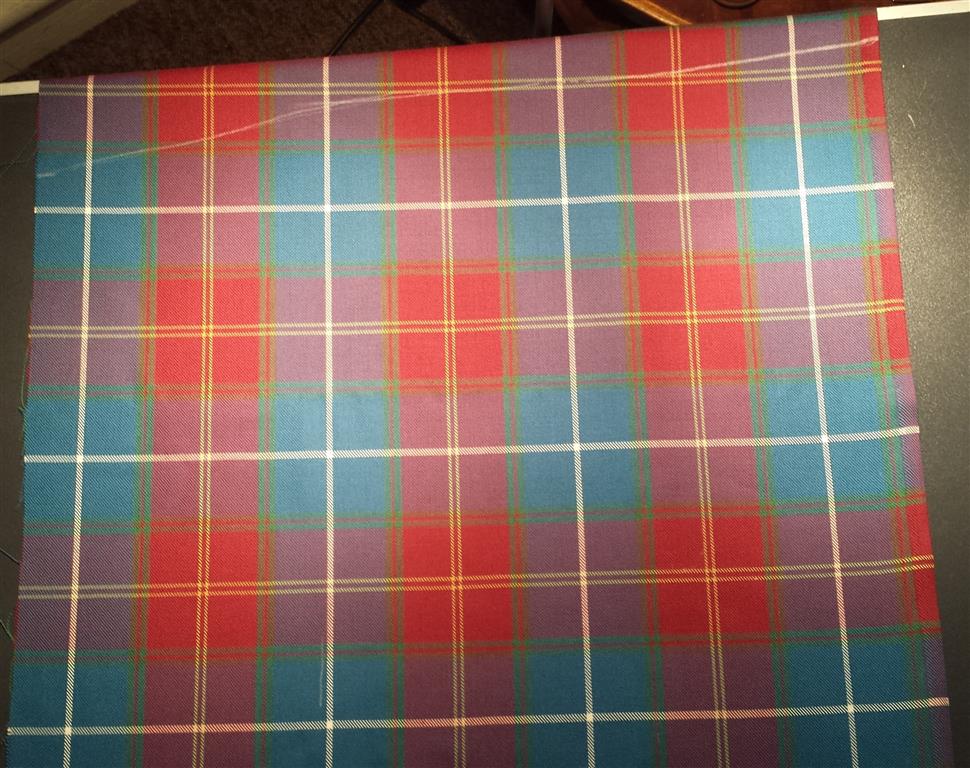
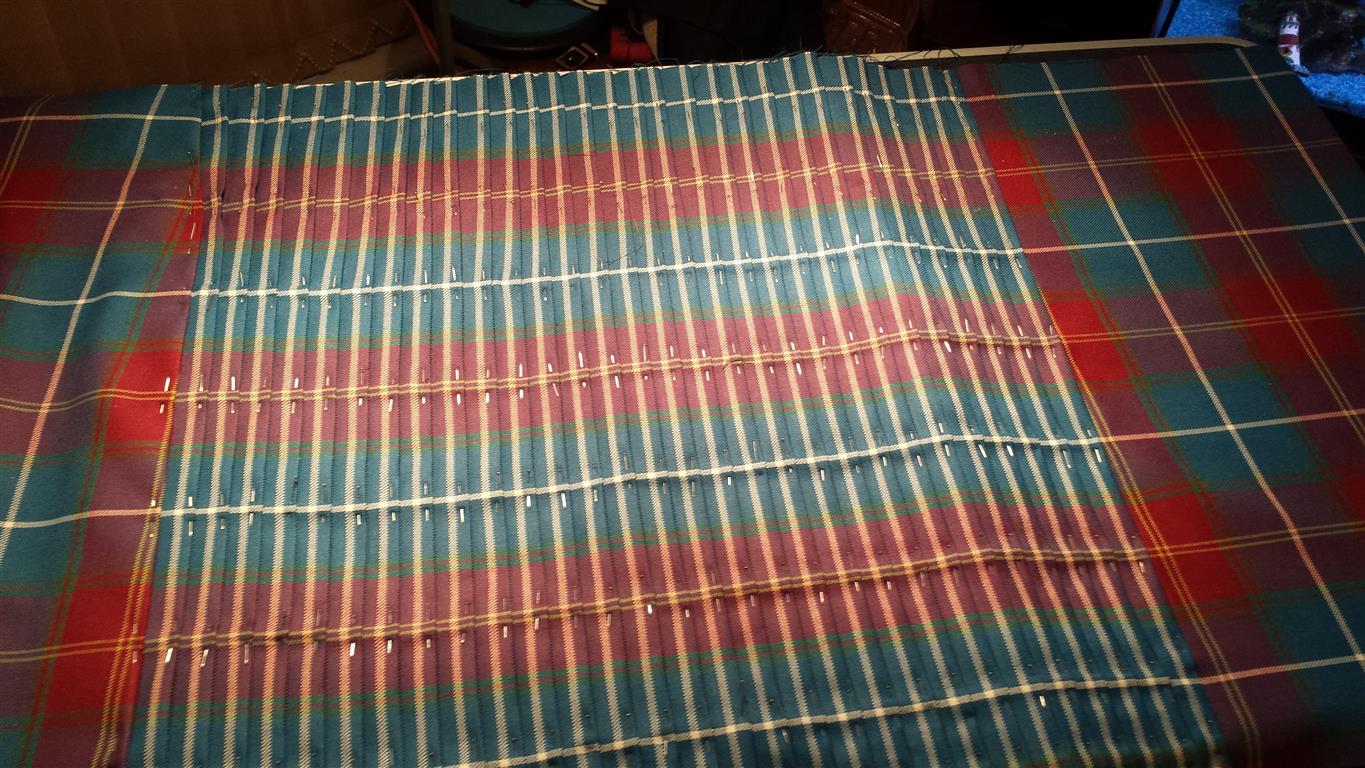
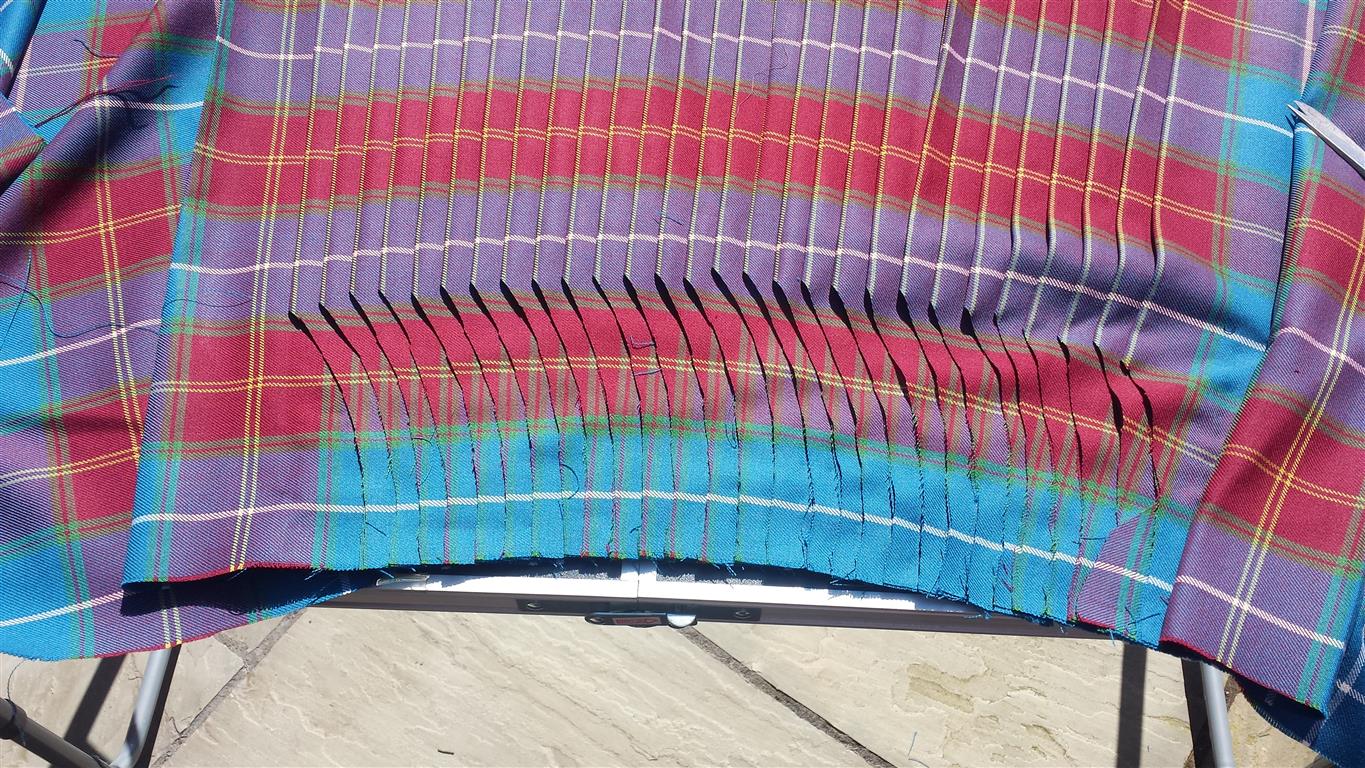
This kilt is being pleated in the military style, ie. one prominent stripe showing on each pleat, each pleat containing one complete set of the tartan. The first and last pleats need to be much deeper than the others. Some kiltmakers prefer to use a reverse pleat at one end or both. I don't. I find a extra deep pleat at both ends works just as well and feels more comfortable. The exact depth of these end pleats will vary depending on the width of the front apron and the size of the pattern in the tartan. What I aim for is about one and half times the depth of the other pleats or a little more.
The spacing between the pleats can vary from 1/2'' to 7/8'' depending on the size of the sett in the tartan and amount of material you want to use, ie. (6-7yds or 8yds). Don't attempt to shape the waist at this point. Pin up all the pleats exactly parallel to each other so that when finished the length of the pleated section is exactly the same at the selvedge, hip and waist.


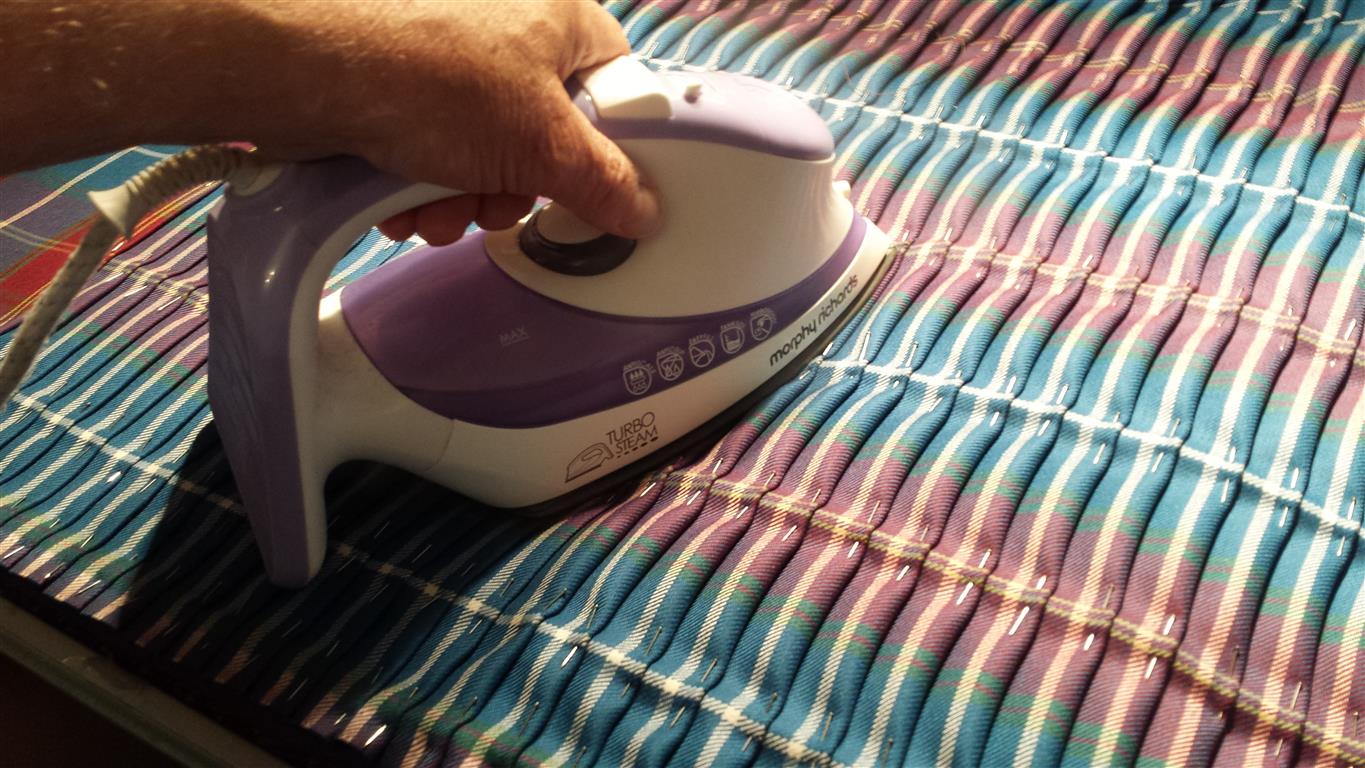
Iron the pleated section thoroughly on both sides with a good steam iron.
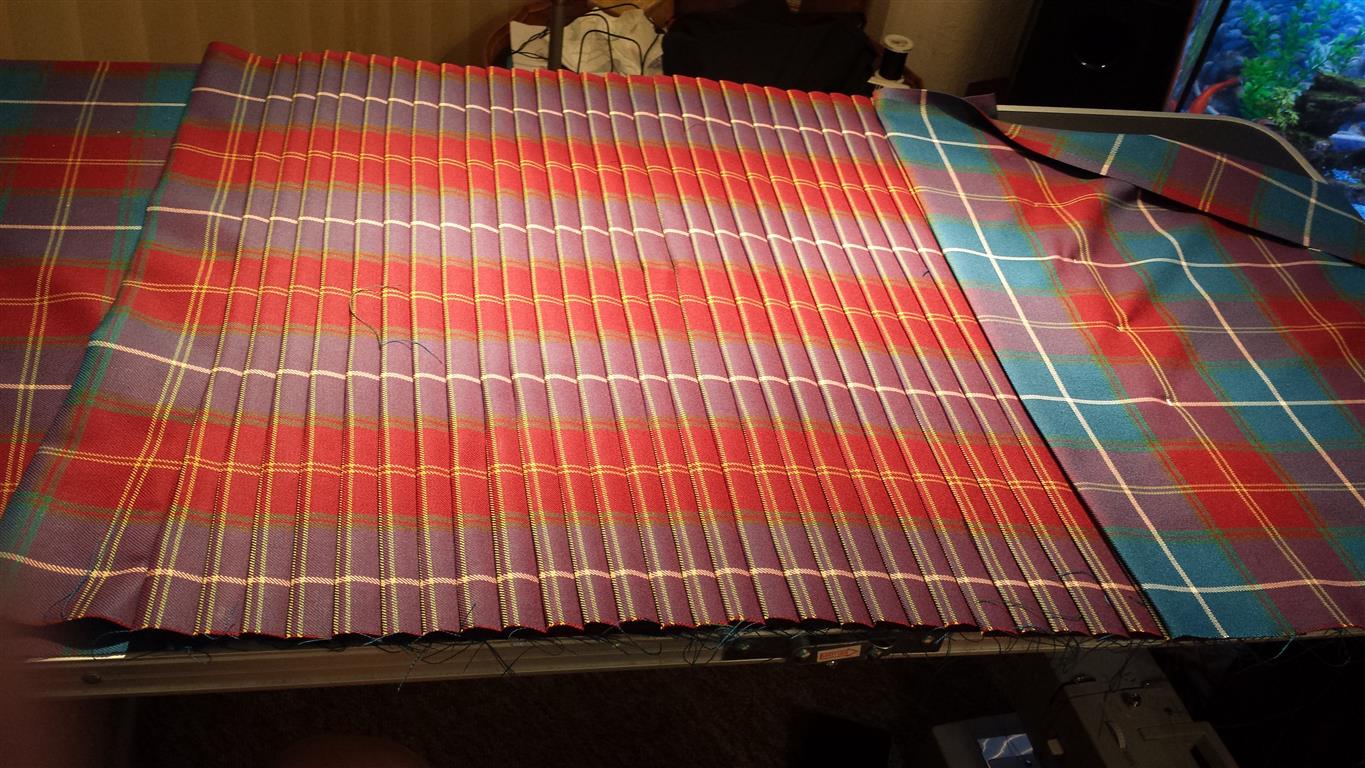
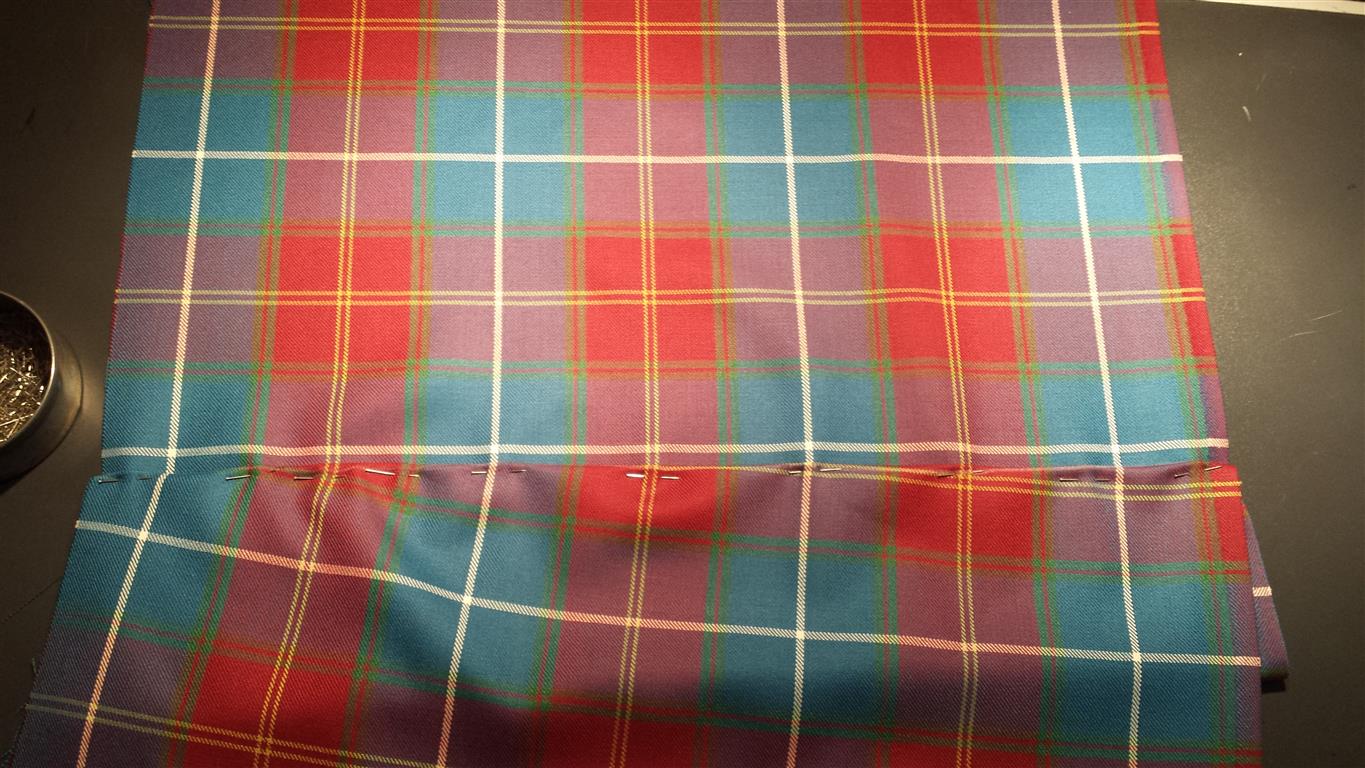
Shaping the waist. This is done by reducing the distance between each pleat at the waist by a small fraction until the pleated section of the waist reaches the required width.
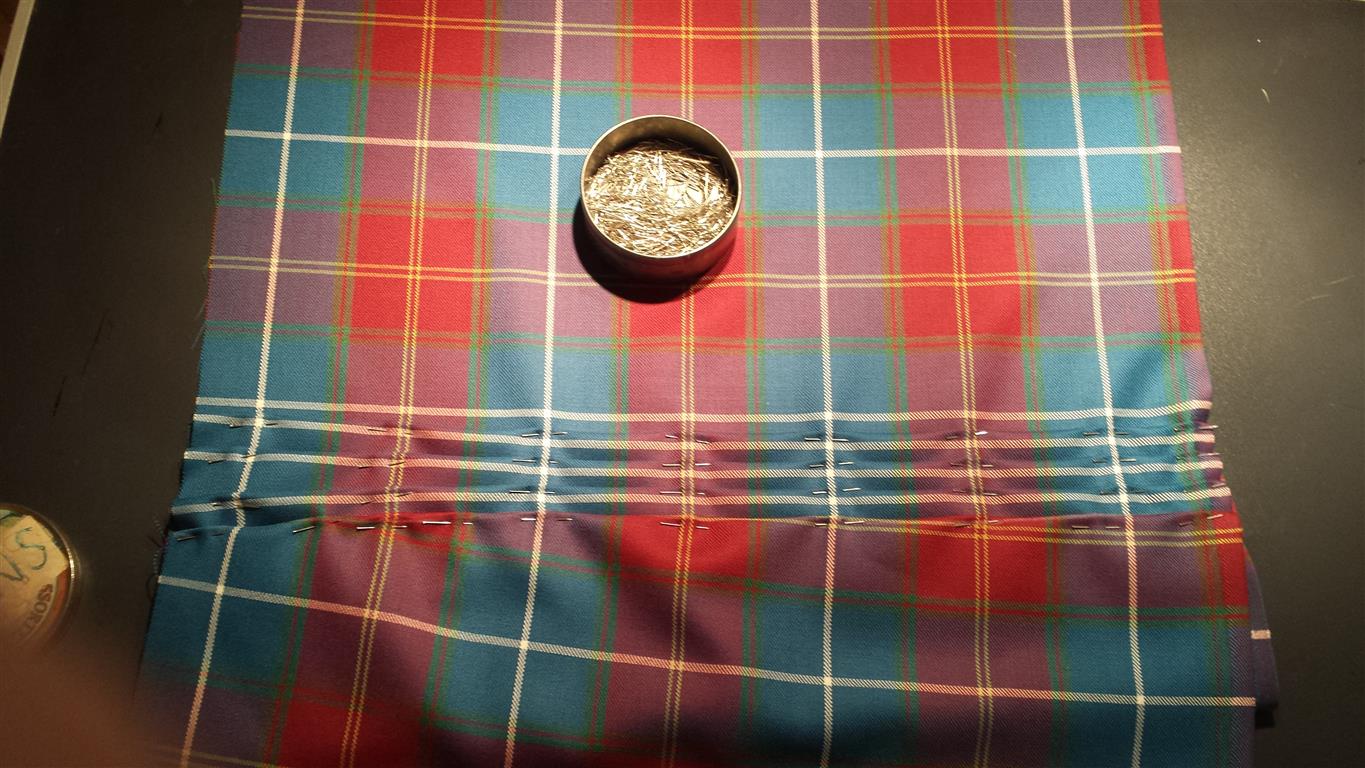
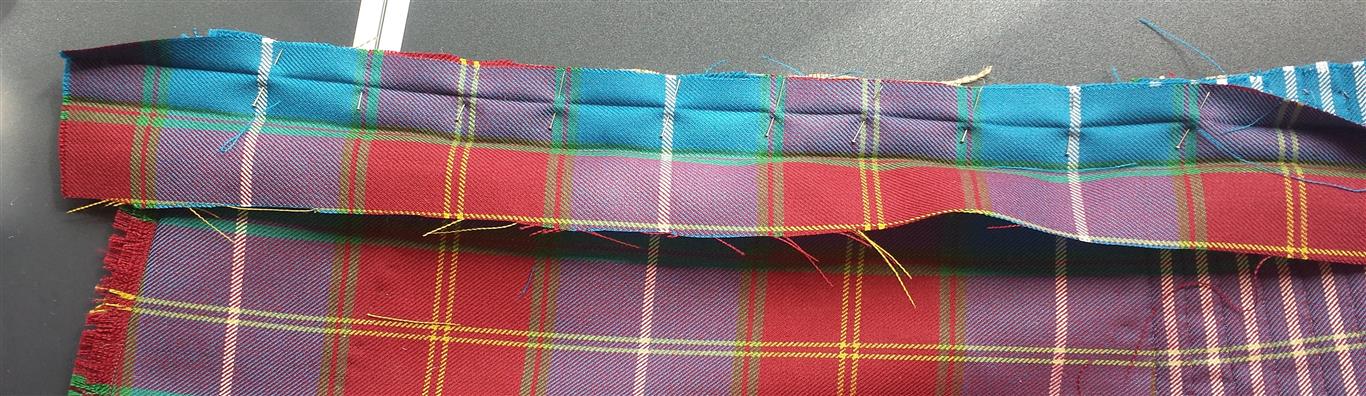
Stitch down the pleated section.
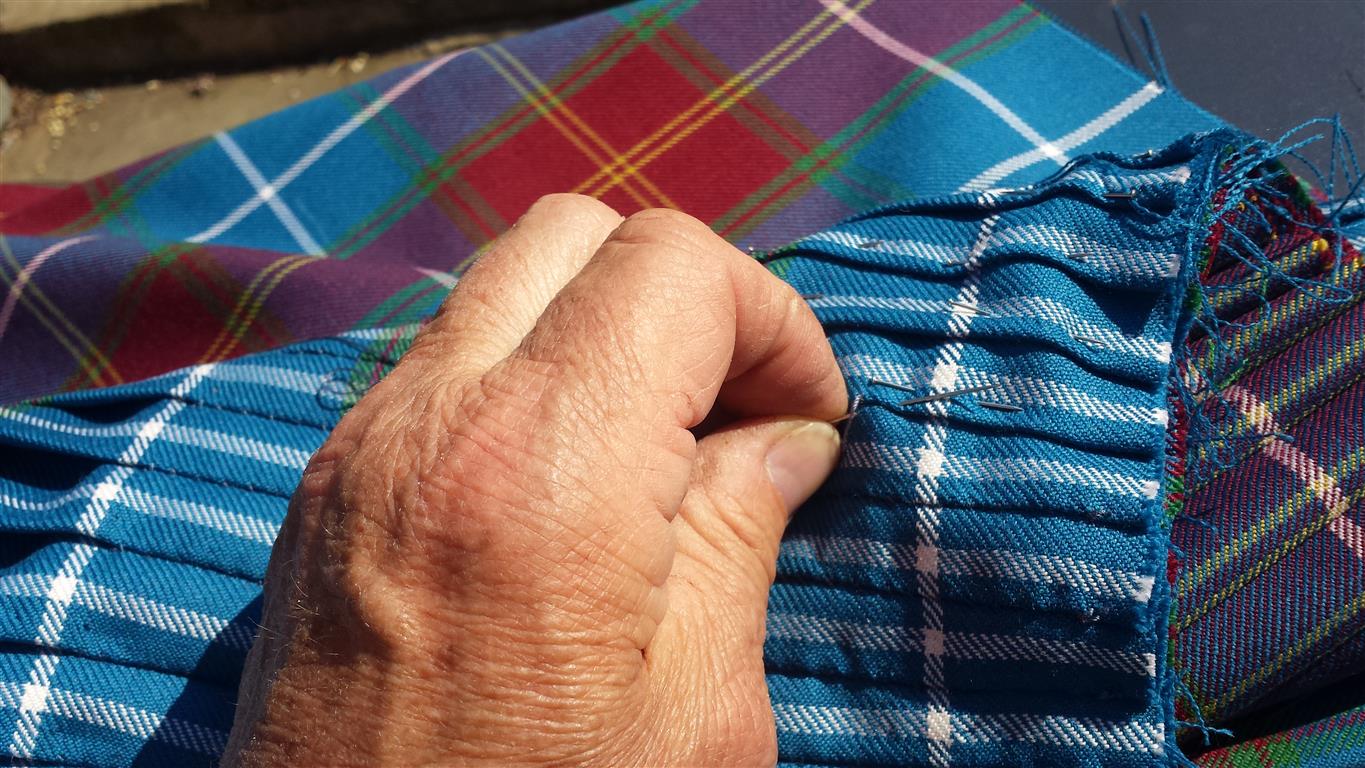
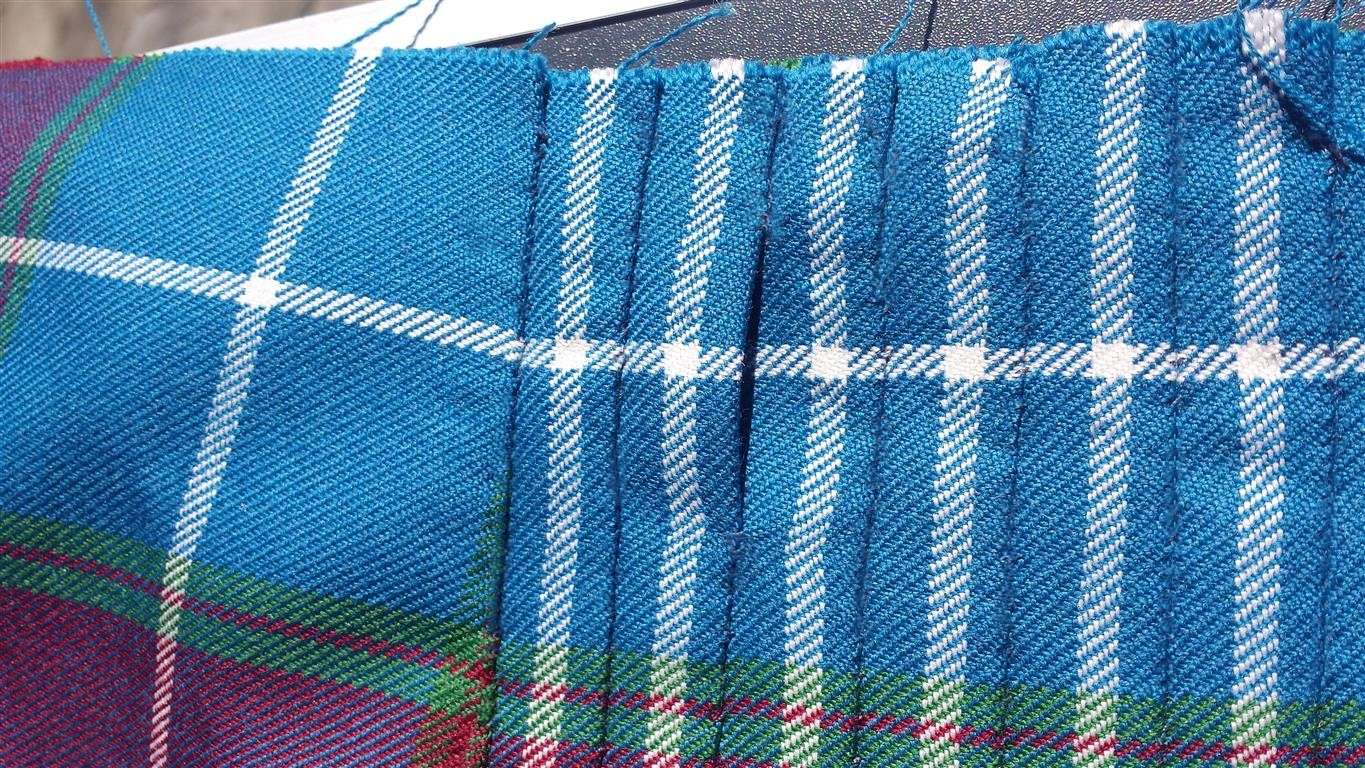
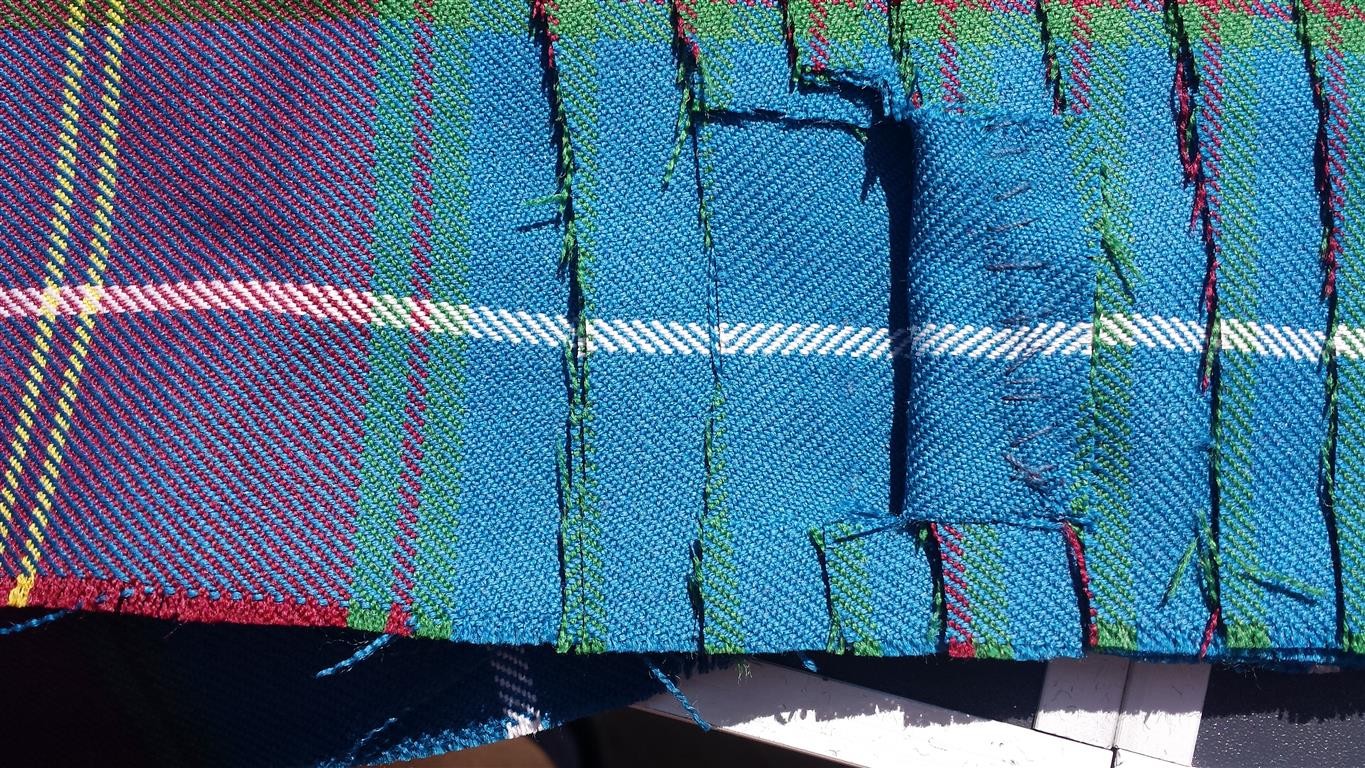
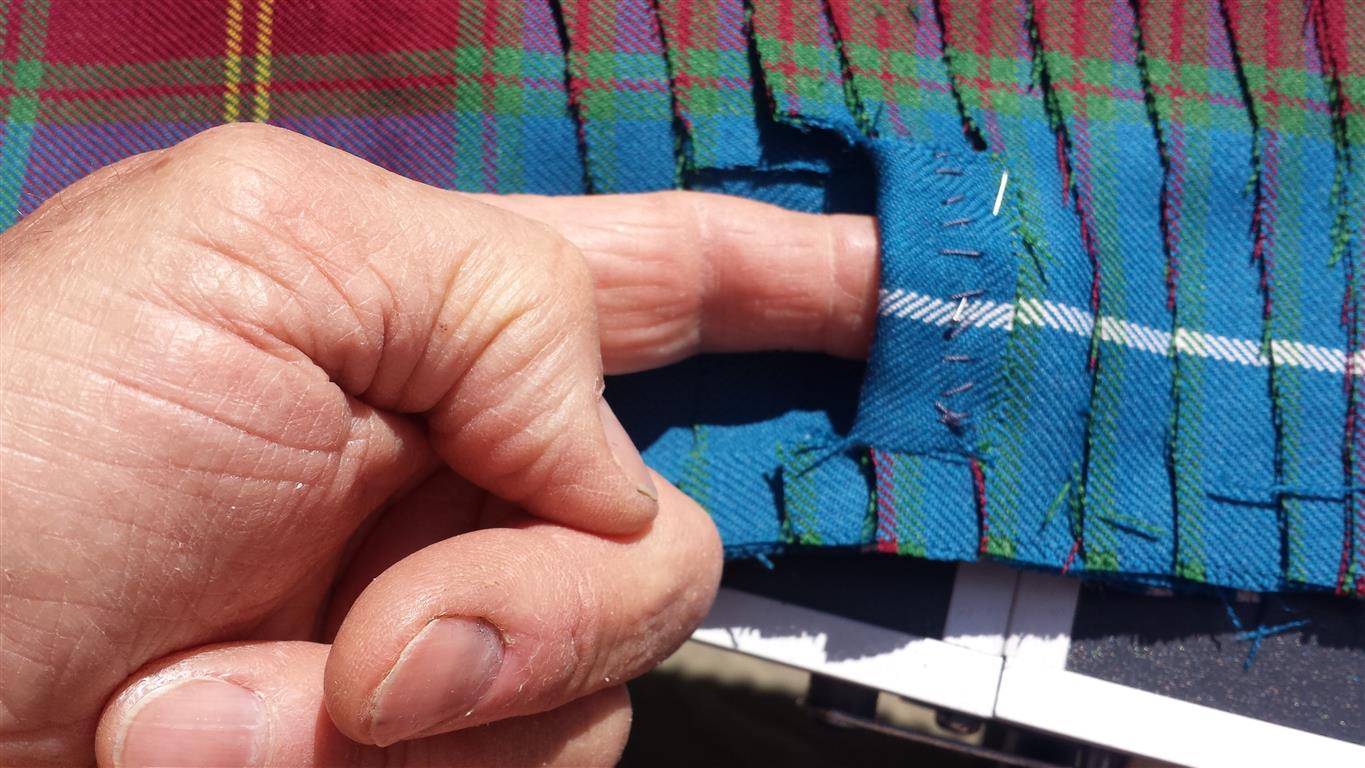
Hand-stitch down all the pleats from the waist to the hip. I use button thread for this. Keep all the stitches very small and right on the edge of the pleats, picking up only the layer of material immediately below it. The canvas to be applied later will be taking all the strain so these outer stitches only need to be strong enough to hold the pattern together. Take great care to match the pattern exactly. This is the longest part of the process but one which you can not afford to rush. Accuracy here is very important if your kilt is going to come out looking really good.
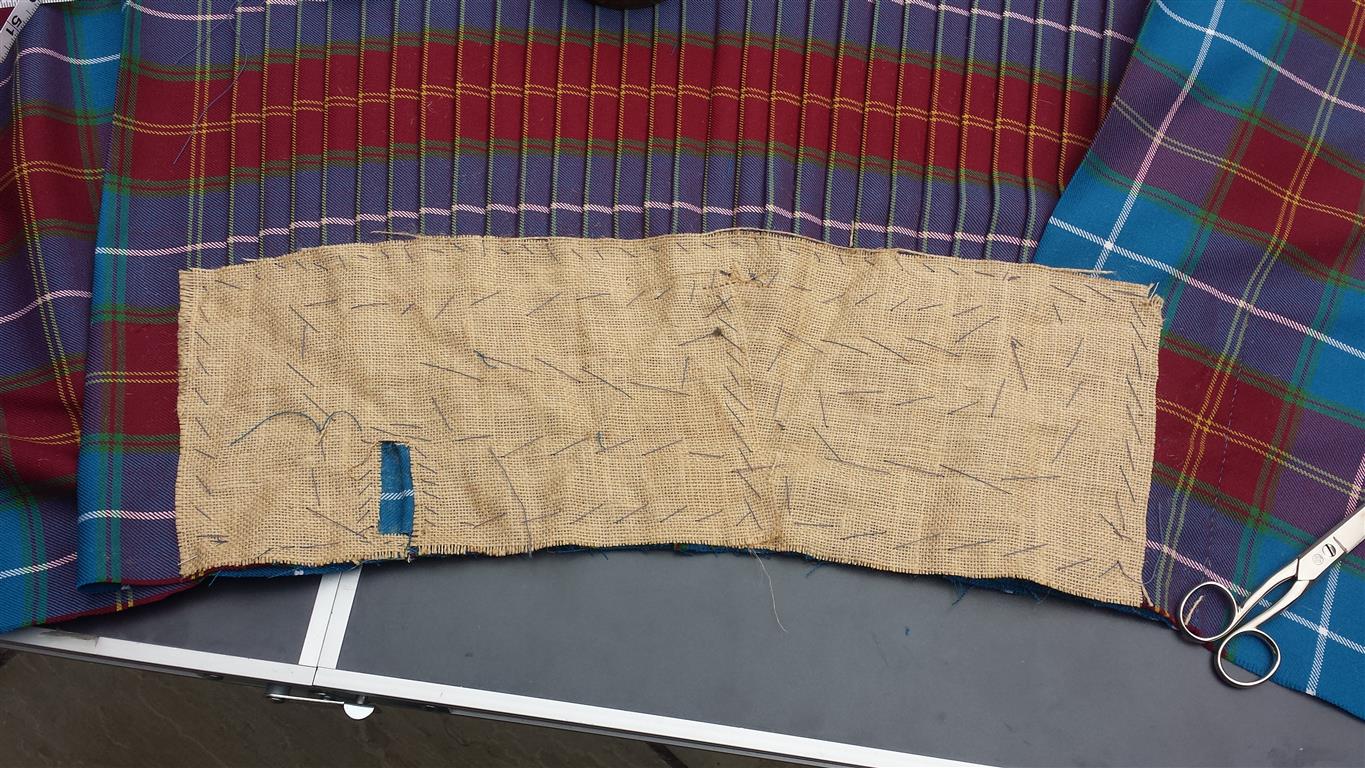
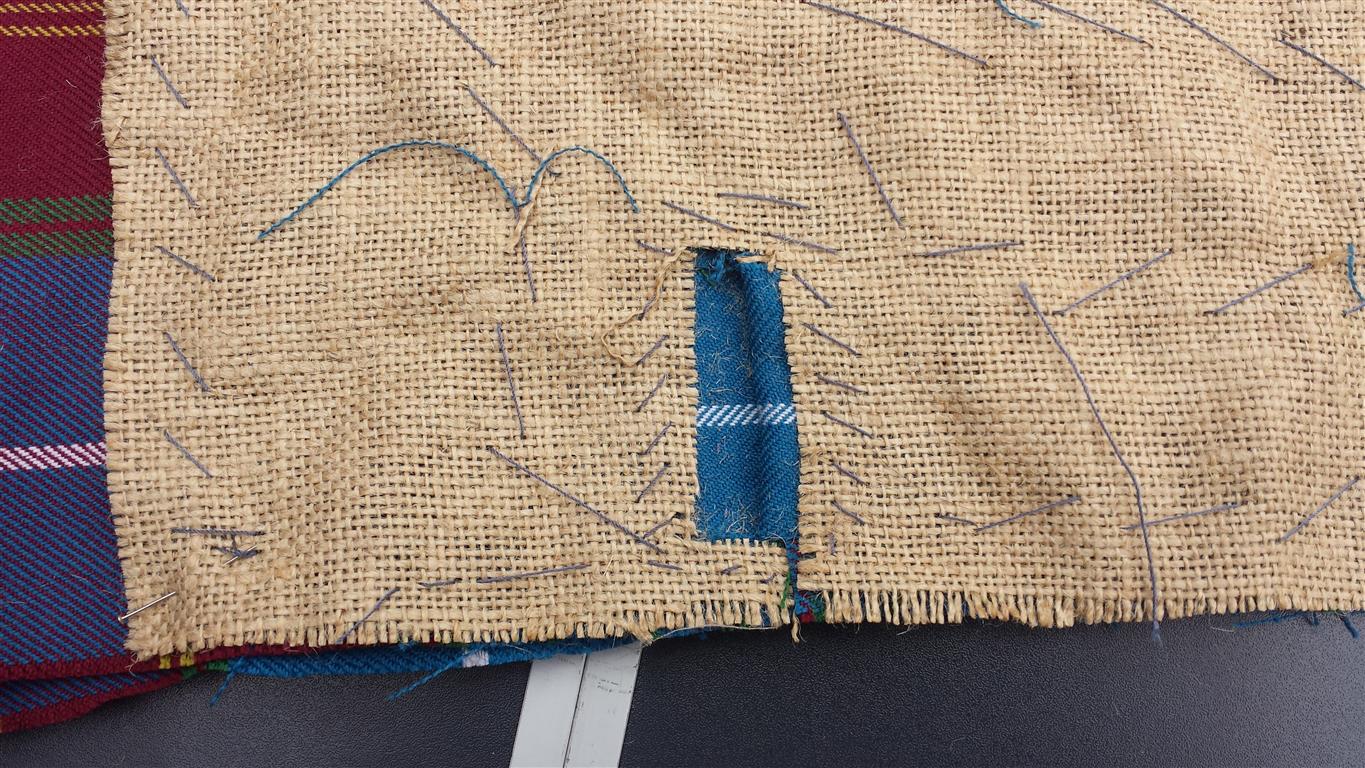
On the third pleat in, make the gap in the stitching that is going to accomodate the strap attached to the inner apron.
Cut away the excess cloth:
Lay the kilt out on a flat surface with the inside of the kilt facing upwards. Cut a large tapering piece away from each pleat between the waist and the hip so that about two-thirds of the bulk of the pleated section is removed.
On the reverse side cut away and stitch down the area just to the side of the belt hole.
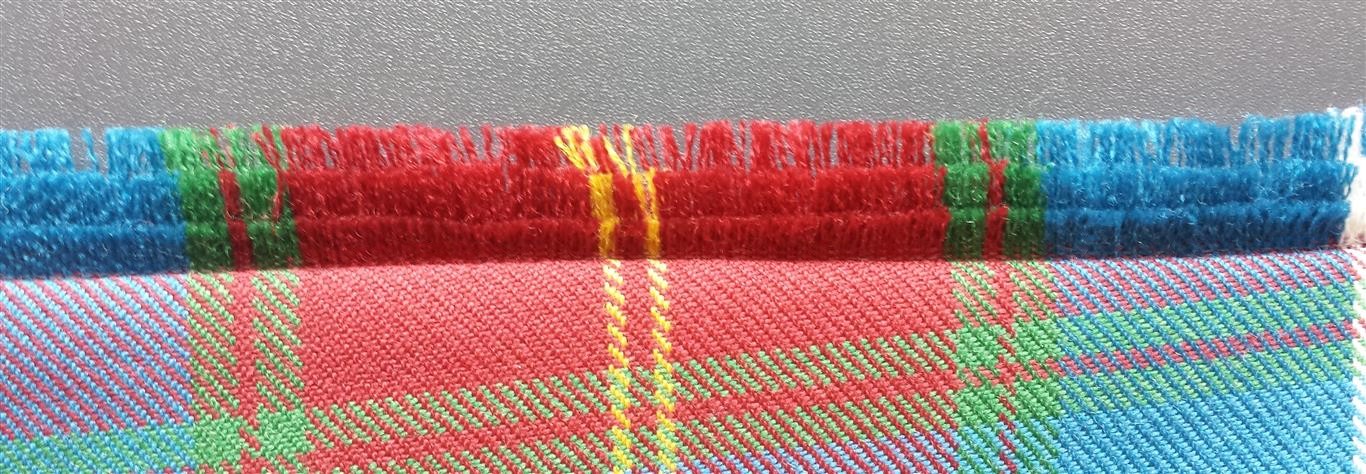
Make the fringe on the edge of the front apron. (technique not shown yet)
Make the turnover at the edge of the bottom apron. (not shown yet)
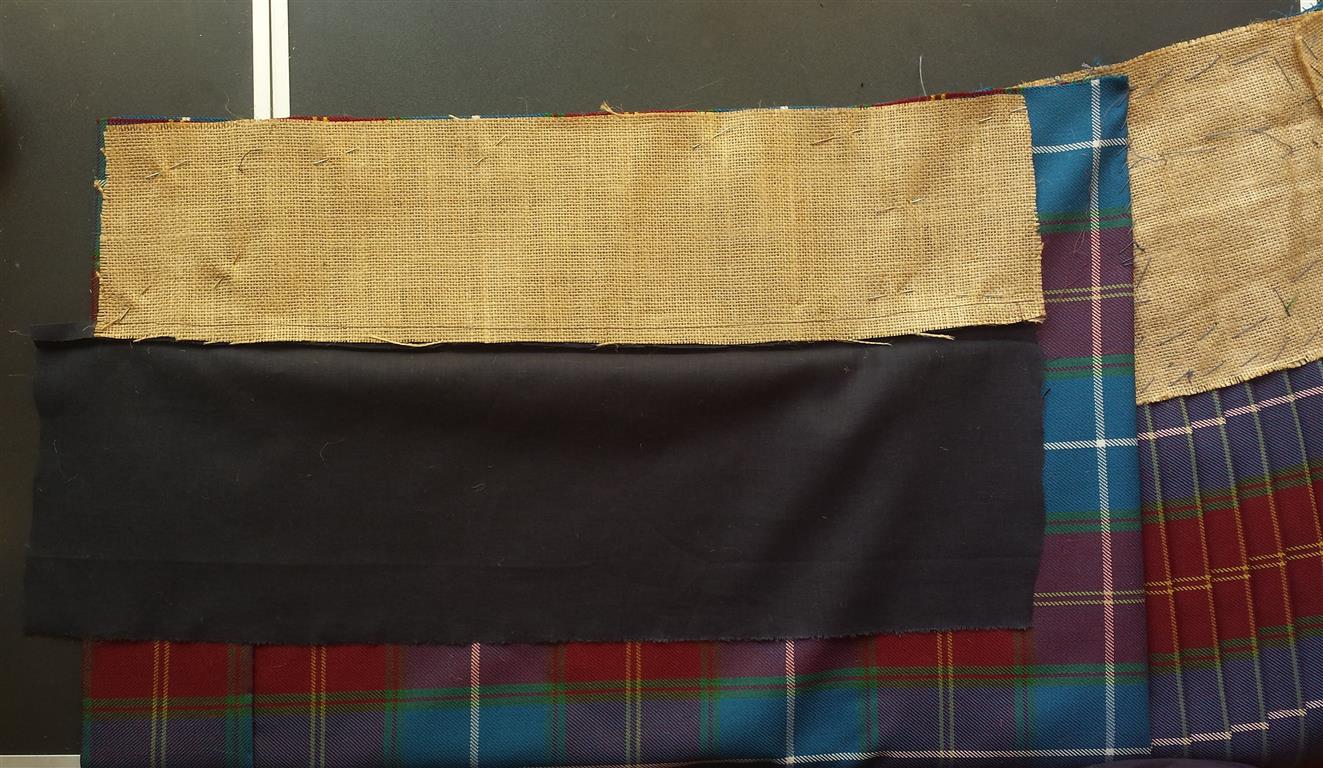
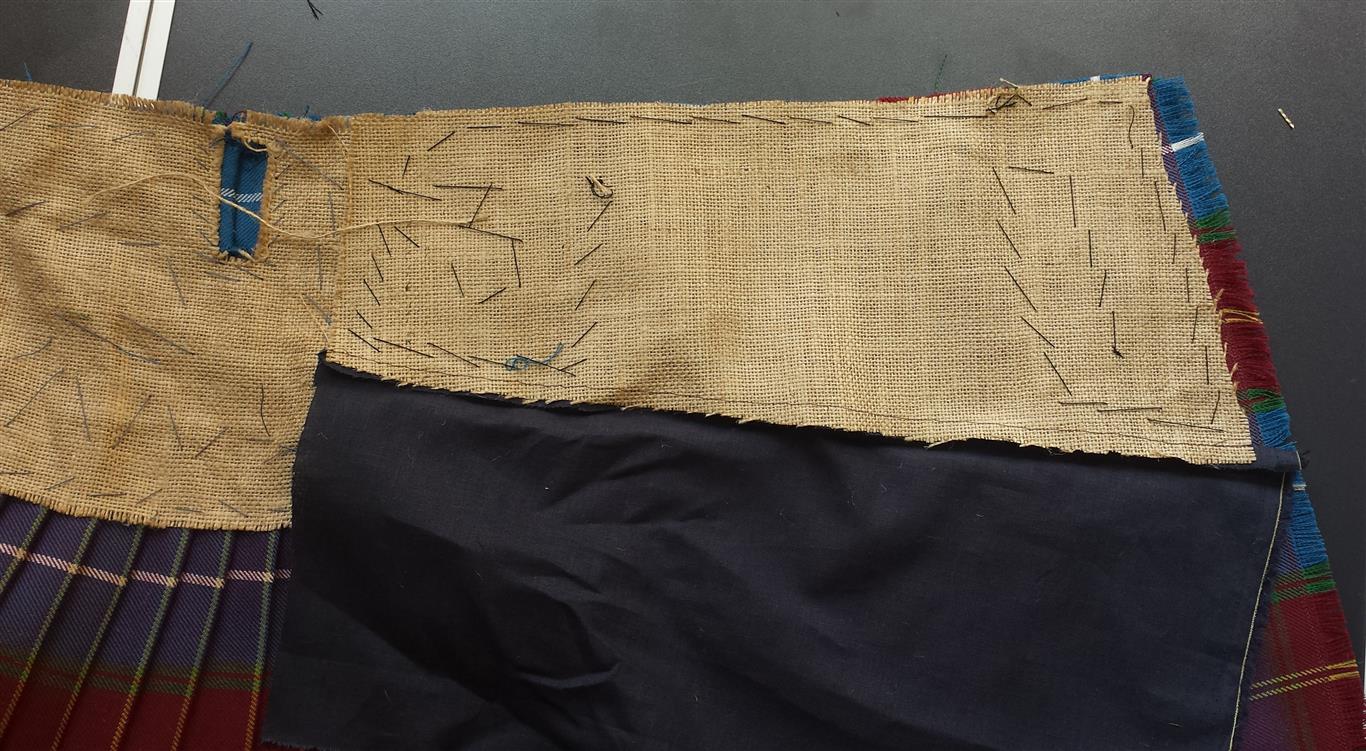
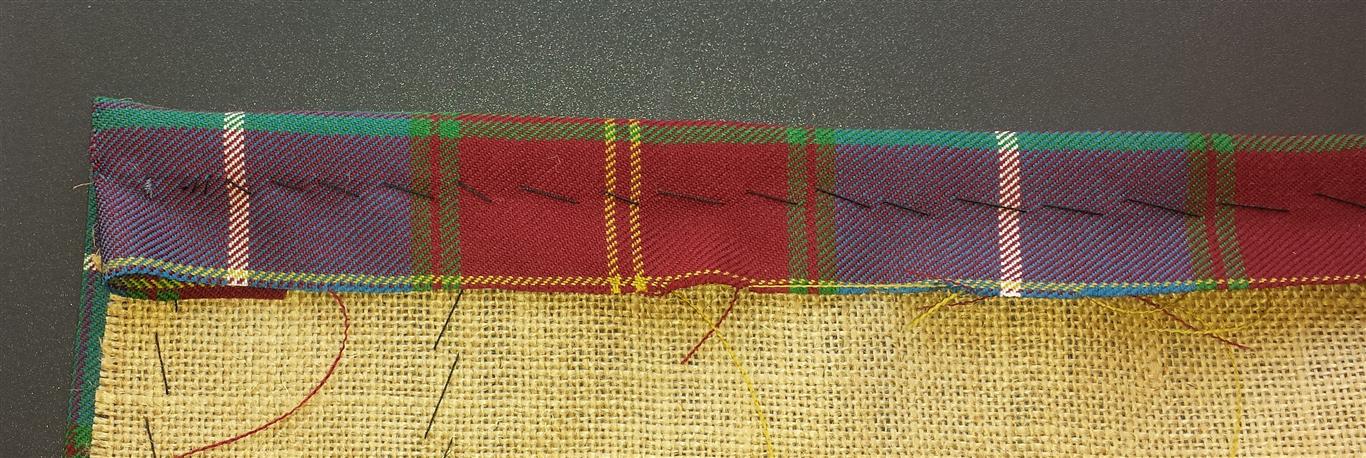
Fit the canvas.
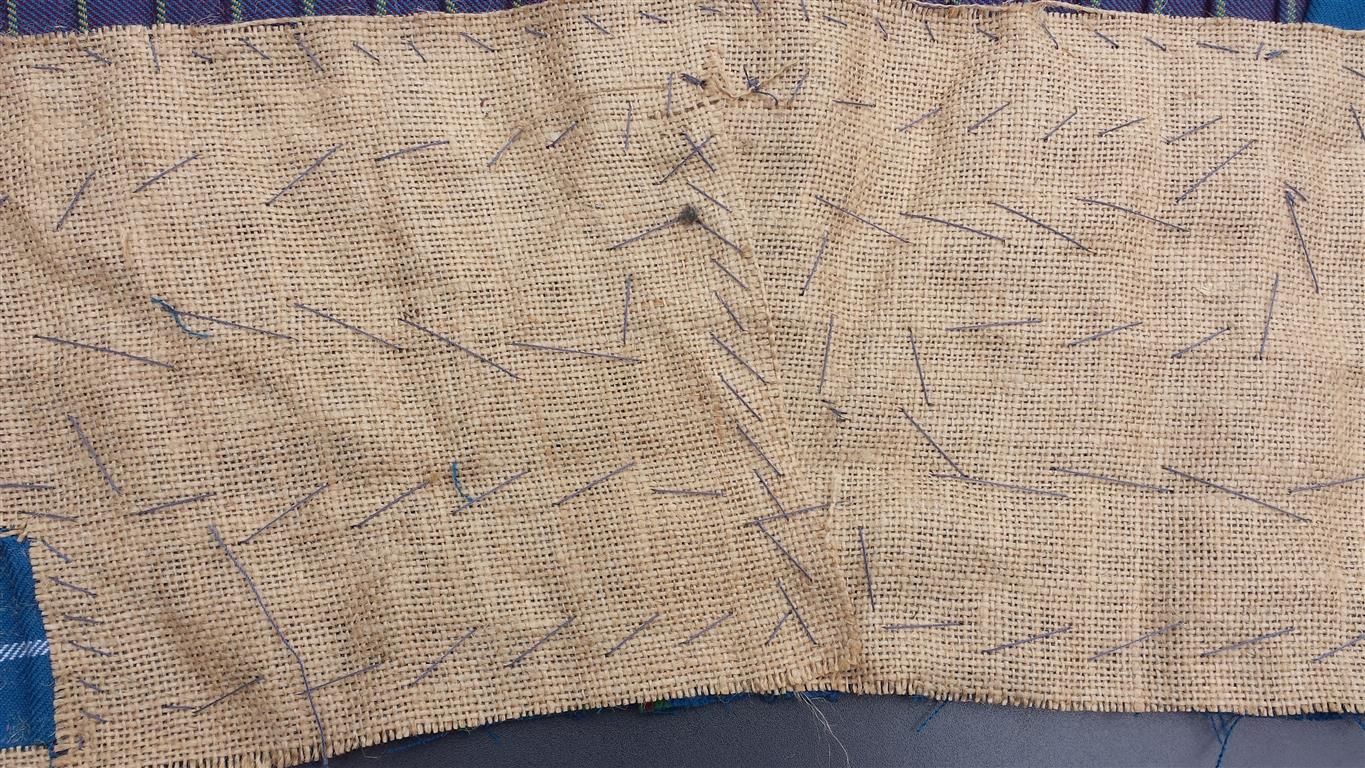
Using a medium to heavyweight canvas, completely cover the inside of the pleated section with canvas. It usually needs one or two cuts in it to make it follow the curve of the waistline. Attach it with large tacking stitches over the entire area.
Cut out the canvas around the belt hole.
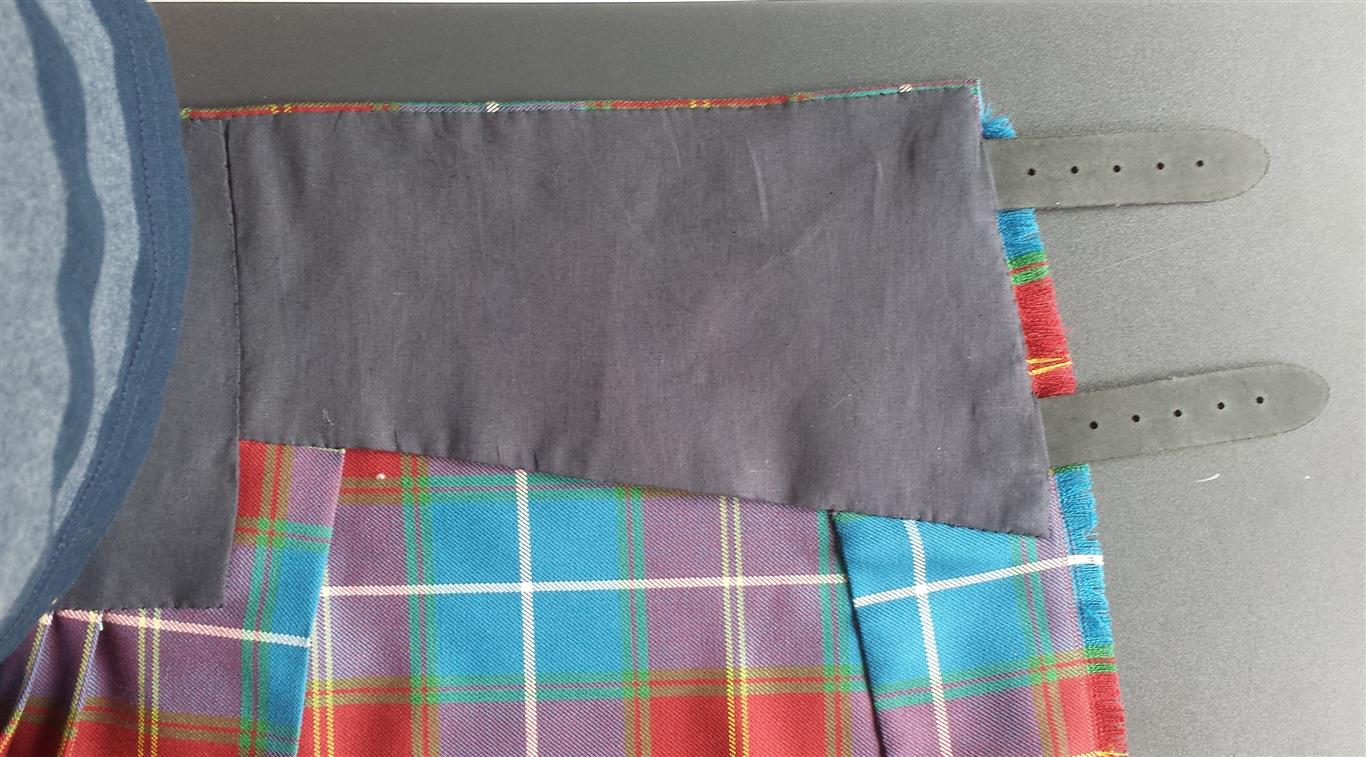
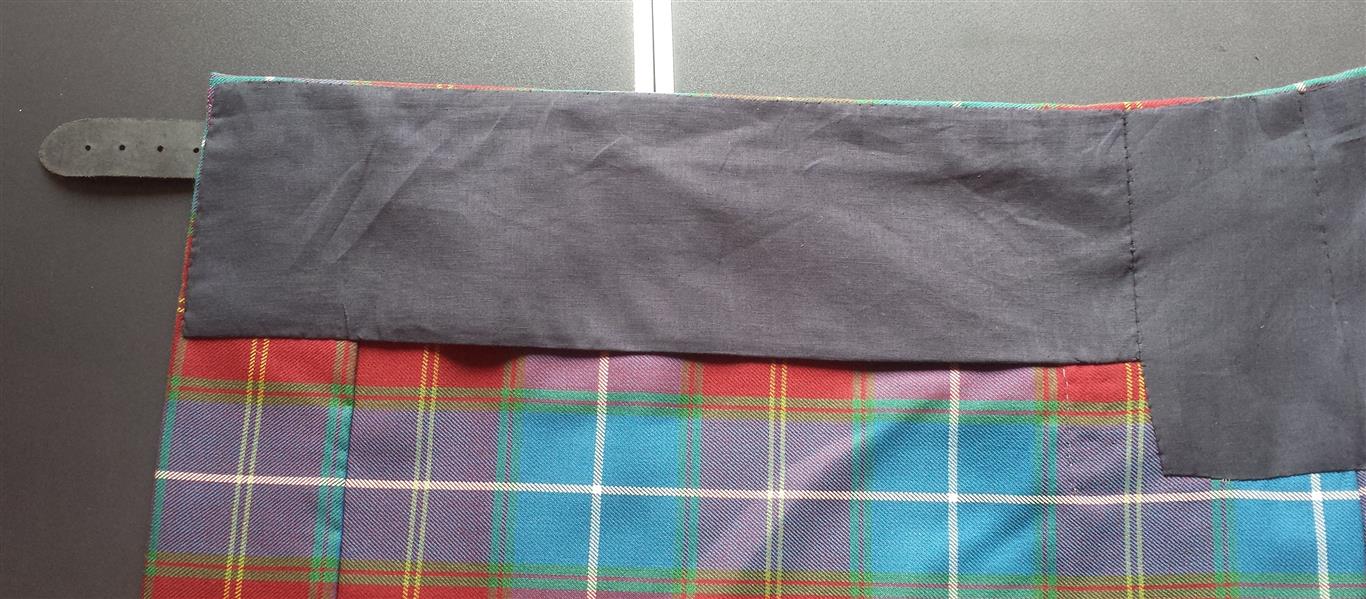
Cut out another piece of canvas for the back of each apron, both long enough to overlap the central piece by about two inches. The one for the inner apron only needs to be about three or four inches deep as it is only taking the strain from one waist strap. The one for the front apron needs to be deep enough to support both the waist strap and the hip strap. Cut out a matching piece of lining material for each piece allowing for an extra two inches above and an inch to the outer side. Lay the canvas on top of the lining and stitch together on the bottom edge only. Fold the lining over the stitch line and iron flat.

In both cases they are only attached to the aprons at either end and at the top, but NOT in the middle. Don't make any tacking stitches directly to the outer layer of material. On one side they are tacked down to the inner layer of the turnover at the open end of the apron, and at the other side to the main body of canvas on the pleated section. A line of stitches right across within half an inch of the top of the apron will hold it secure but will be hidden later under the waistband.
Make the sporran straps and pin in place. (not shown yet)
Attach the waist band:
Cut a length of material about 2.5" wide and long enough to cover the full width of the pleated section, the two aprons and an extra two inches on both ends. Iron in two folds along the entire length. Pin to the top of the kilt starting on the front apron, allowing two inches for the initial turnover and matching the pattern on the apron. Stitch down, including the waistband, the apron and the canvas, but not the lining.

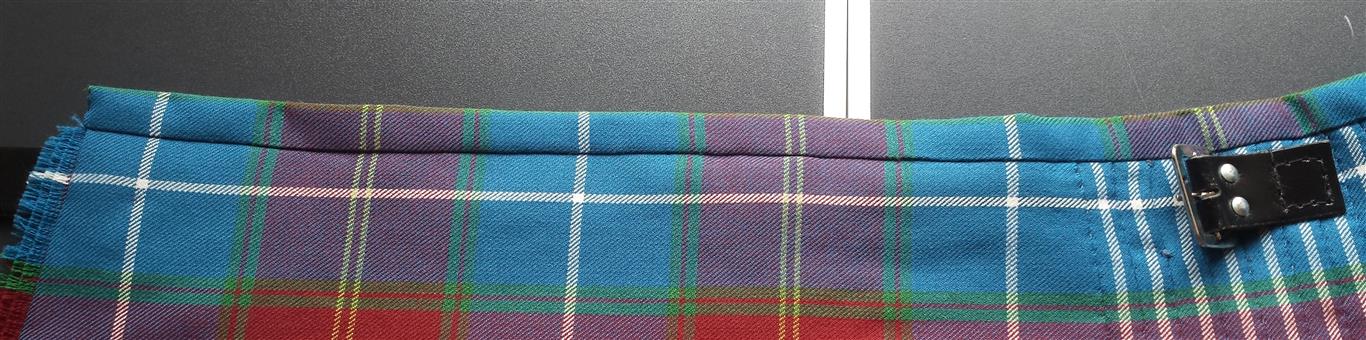
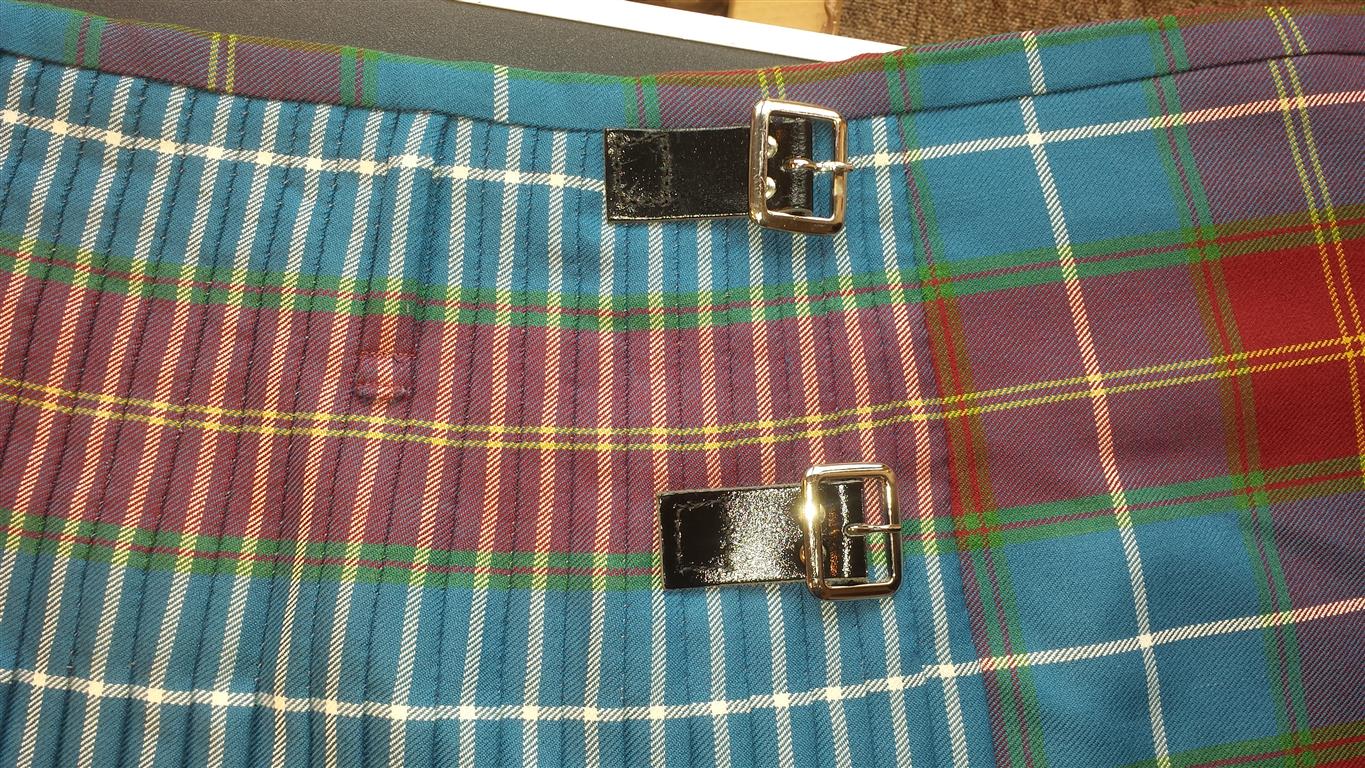
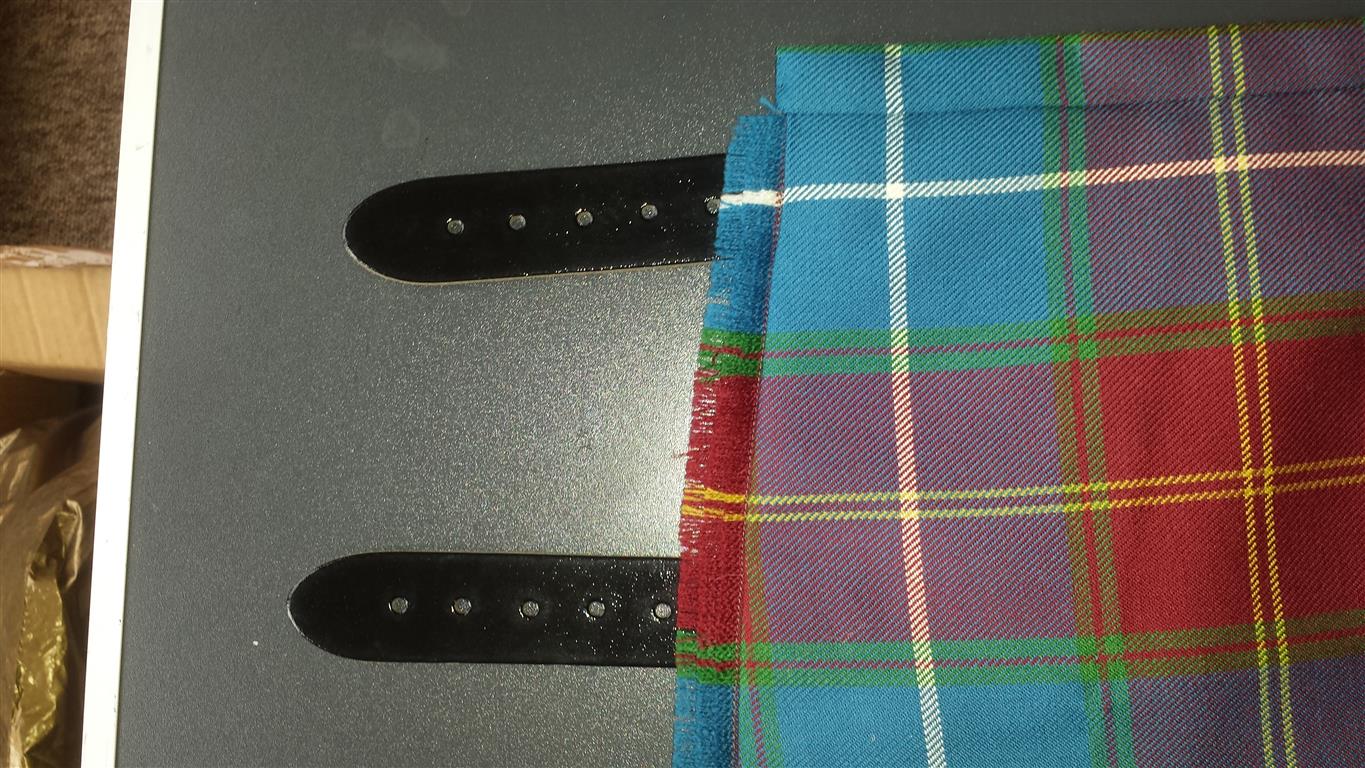
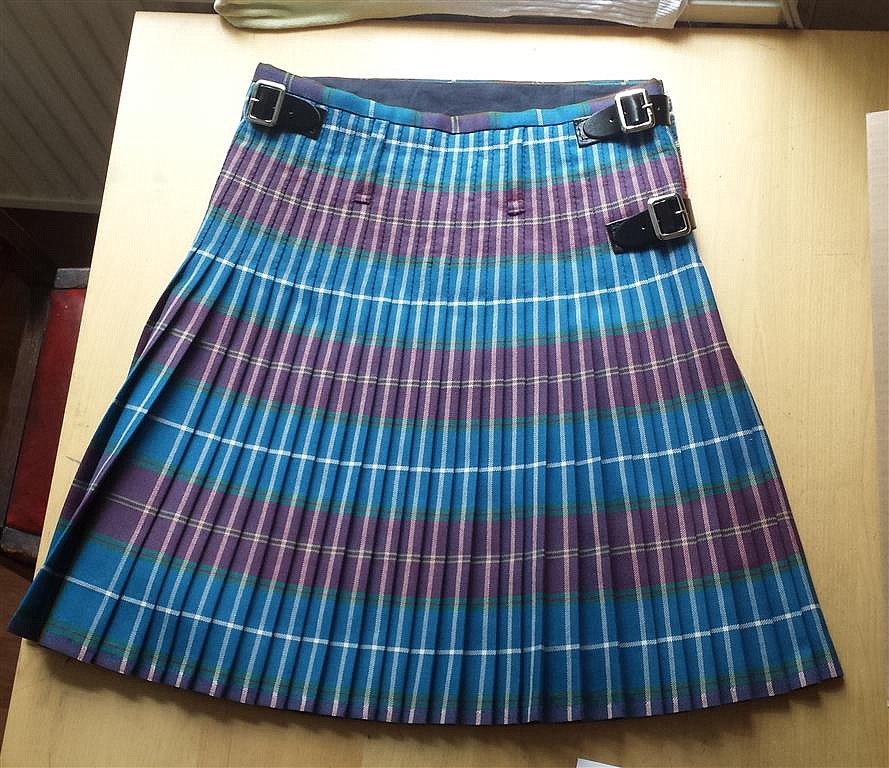
Attach the buckles and belts.

Attach the lining to the aprons.

Lining around the belt hole.
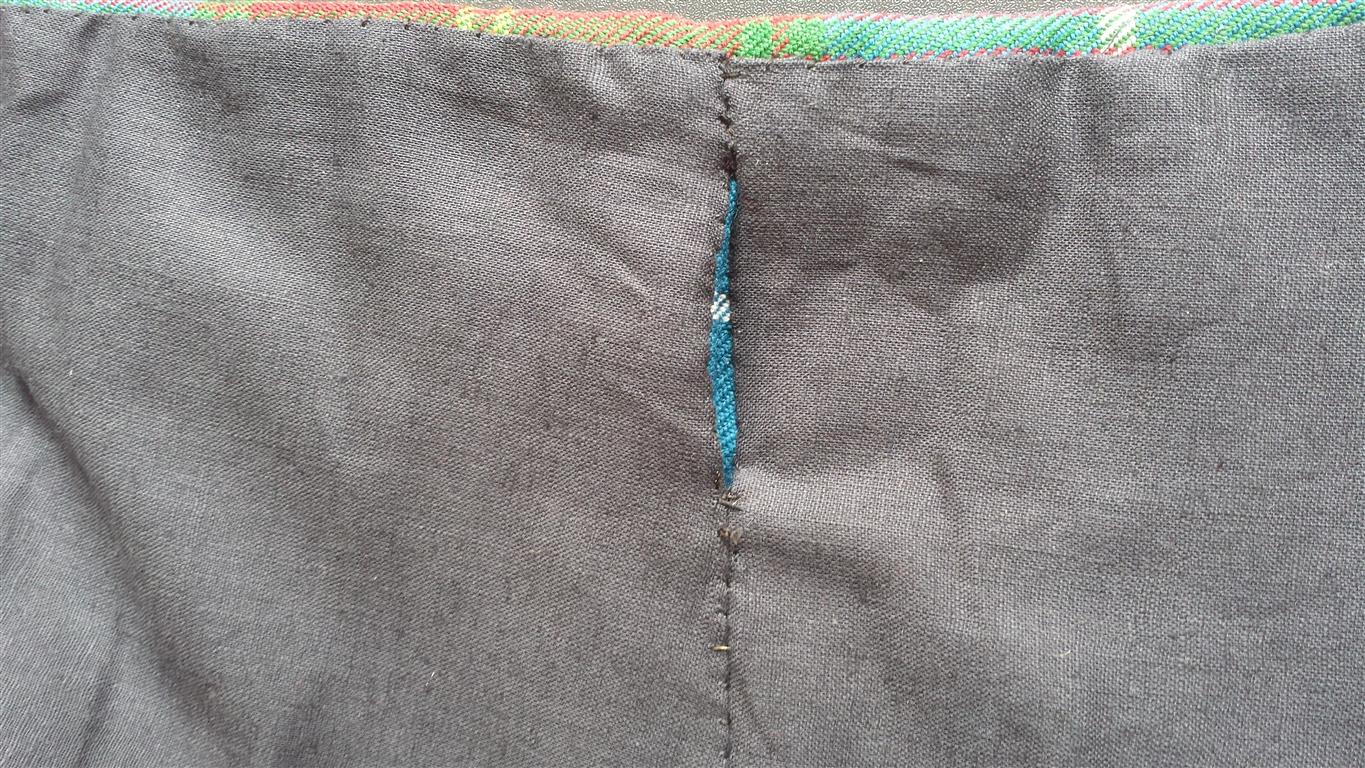
Turn up the selvedge inside the first pleat by the front apron so that it doesn't show under the apron.
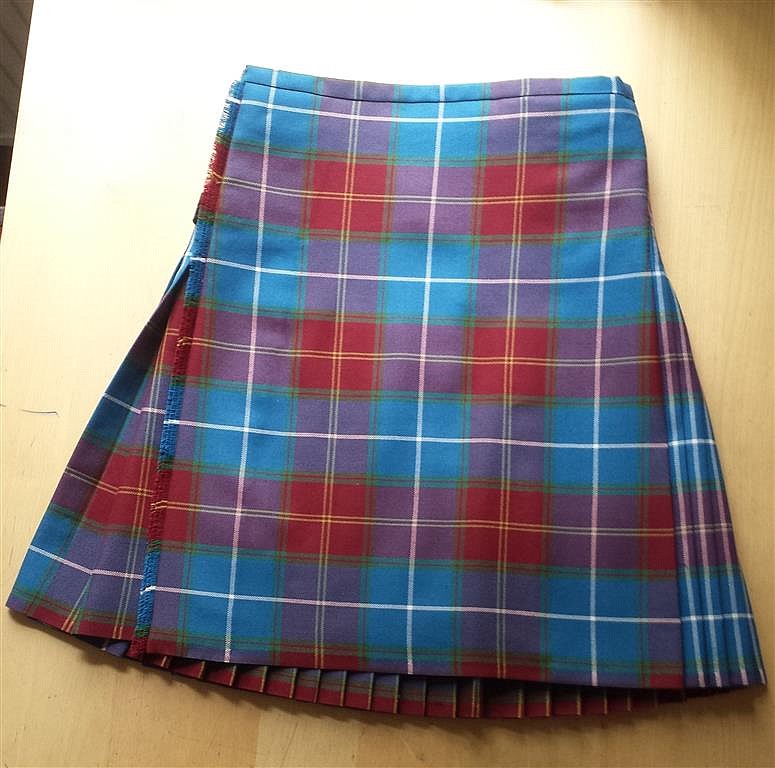
The finished kilt.
Back to Top of Page
|
|
