Tools

Knee Vice
|
|
|
|
|
Awl
|
2 large blunt-nosed needles (size = ?)
|
2 pairs of pliers.
(I prefer this particular type)
|
The stitching. This is the most important stage in the whole process. Allow yourself plenty of time for it. I always remember my driving instructor telling me when I was learning to drive a car that I should never forget that a car is a very efficient killing machine and that I could not ever afford to take ONE SINGLE chance. It may kill me and several others. Well, the same goes with the stitching on a pipebag. ONE SINGLE careless stitch may make the difference between a good bag and a bad one.
|
My approach has always been to work on a three-inch section at a time, boring the holes and then stitching them immediately before moving on to the next section. What I used to find was that if you bored the holes out on a much larger section and then went back to the beginning to start stitching, the natural flexing of the leather while you worked on it had a tendency to make the holes close up again before you got to stitching them, which made it more difficult to feed the needles cleanly through the holes first time.
|
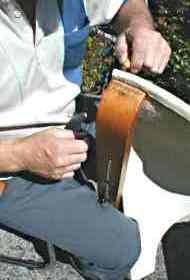
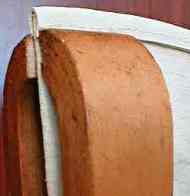 Using a knee vice. I wouldn't say that this device is essential for the job but it really does make it a lot easier. It allows you to secure firmly just the three or four inches of the bag you are working on at any one time while you bore out the holes and stitch them. It is really a very simple device and not difficult to make if you want to attempt it.
|
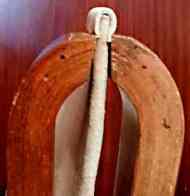 It consists of 2 stout pieces of wood about 3 inches wide that act as jaws that can be tightened by means of a butterfly screw to grip the welt of the bag just at the point you are working at. The two jaws are supported by a central spar that rests on the ground and is supported by your knees - hence the term "knee vice".
|
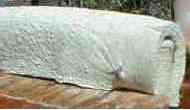
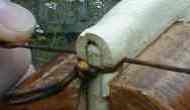
 Start at the back of the bag. If using the knee vice, secure the first three inches of the welt in the jaws with the stitch path just showing.
|
|
|
|
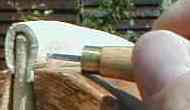
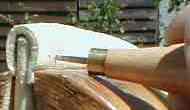
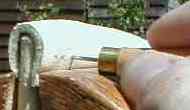
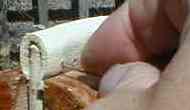
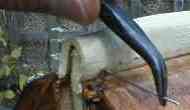
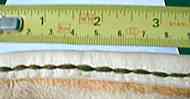
Boring the holes. Use the awl to bore out the holes, making sure that you keep very accurately to the marks you have made on the stitch path. Also, it is very important to keep the awl perfectly perpendicular to the welt to ensure that the line of holes on the other side of the bag comes out just as straight and even.
|
|
|
|
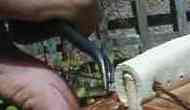
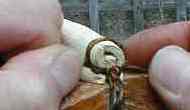
Stitching. Feed the first needle through the first hole and pull through with the pliers. Pull all the twine through until the loop is one inch away from the hole.
|
|
|
|
Use the pliers to feed the second needle through from the other side, making sure that you follow exactly the same path as the first needle. To keep the line of stitches perfectly straight, aim to make the point of the second needle emerge in the same hole but in front of the hemp from the first needle.
|
|

|
|
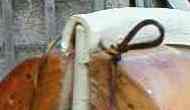
Use both hands to pull tightly and evenly on both sides of the stitch, keeping the loop in the centre, over the edge of the welt. Then, for added security, I always add another stitch through the same hole but feeding the twine this time over the top of the welt. Then continue stitching the first three inches, pulling each stitch as tight as possible.
|
|

|
|
|
|
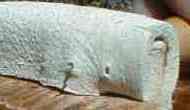
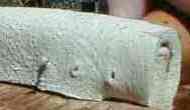
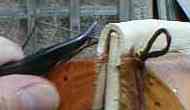
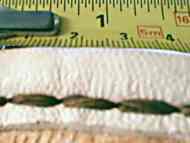
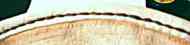 And this is what your stitching should look like when finished.
|
|
|
